I still remember the first time I tried my hand at DIY candle making – it was a disaster. The instructions I followed were vague, and the result was a candle that looked more like a sad, waxy blob than a warm, flickering delight. But that experience taught me a valuable lesson: with the right guidance, anyone can create beautiful, unique candles that fill their home with warmth and character. The common myth that DIY candle making is a complicated, expensive process is simply not true – in fact, it’s a fun and rewarding hobby that can be enjoyed by people of all skill levels.
In this article, I’ll share my honest, no-hype advice for getting started with DIY candle making. You’ll learn how to choose the right materials, create unique and inviting scents, and craft candles that are truly one-of-a-kind. I’ll walk you through the process step-by-step, sharing my own tips and tricks for avoiding common mistakes and achieving professional-looking results. Whether you’re a seasoned crafter or a complete beginner, you’ll find that making your own candles is a fun and rewarding experience that allows you to express your creativity and add a personal touch to your home decor.
Table of Contents
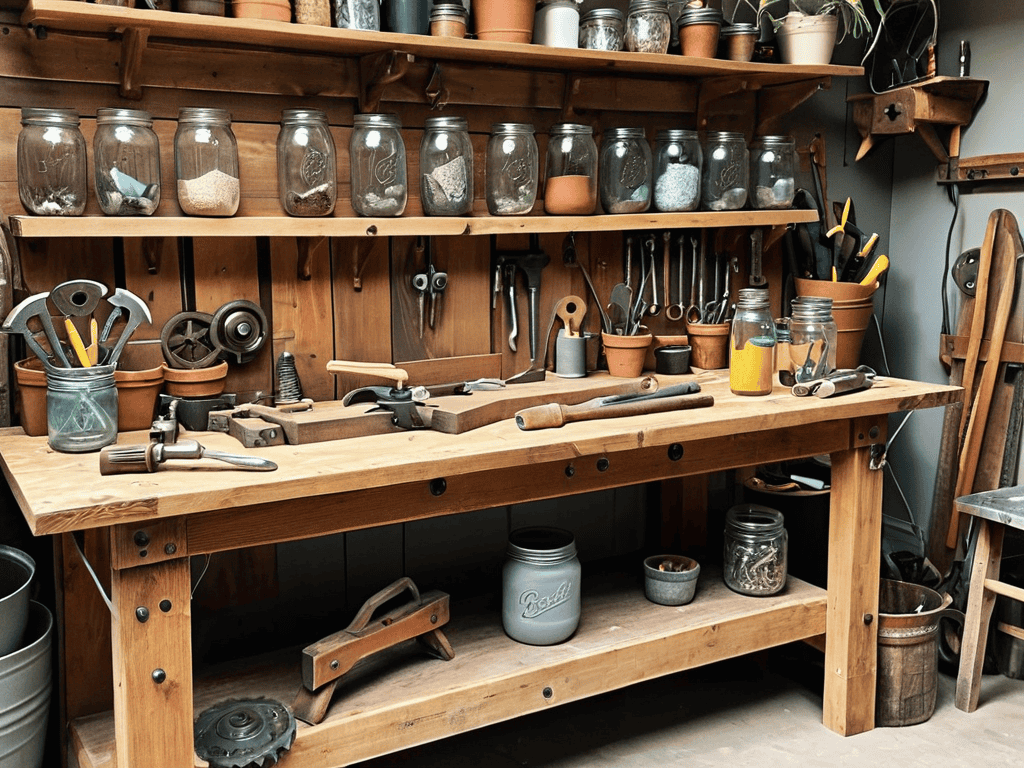
Guide Overview: What You'll Need
Total Time: 2 hours 30 minutes
Estimated Cost: $20 – $50
Difficulty Level: Easy
Tools Required
- Double Boiler (or a microwave-safe bowl)
- Thermometer (for monitoring temperature)
- Colorant (optional, for colored candles)
- Fragrance Oils (optional, for scented candles)
- Melting Pot (for melting wax)
- Candle Mold (to shape the candle)
- Wick (made of cotton, paper, or another material)
- Wick Tab (for securing the wick)
- Rubber Spatula (for stirring and pouring wax)
Supplies & Materials
- Wax (available in various types, such as soy, beeswax, or paraffin)
- Wick Stabilizer (optional, for preventing wick movement)
Step-by-Step Instructions
- 1. First, let’s get started with the basics – gather your materials. You’ll need some wax (available in various types, such as soy, beeswax, or paraffin), a wick, your favorite essential oils, and a melting pot. Make sure you have a well-ventilated area and a thermometer to monitor the temperature.
- 2. Next, prepare your melting pot by placing the wax inside and heating it until it reaches the melting point. The temperature may vary depending on the type of wax you’re using, so be sure to check the instructions. Stir occasionally to ensure even heating.
- 3. Now it’s time to add some color and fragrance to your candle. You can use dye blocks or powders for the color, and essential oils for the fragrance. Add them to the melted wax and stir well to combine. Be cautious not to add too much fragrance, as it can affect the burning quality of the candle.
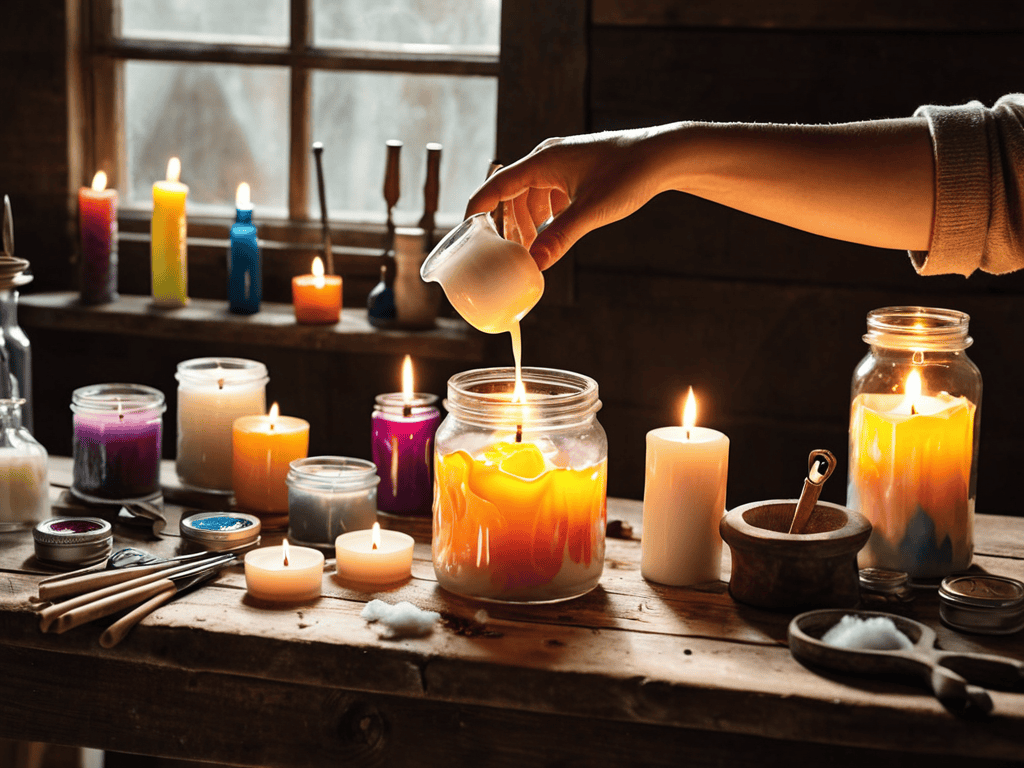
- 4. While the wax is still melted, prepare your mold. You can use any shape or size you like, from simple glass jars to intricate silicone molds. Make sure the mold is clean and dry before pouring in the wax mixture.
- 5. Pour the wax mixture into the mold, making sure to fill it to the top. Then, allow it to cool and solidify. This can take anywhere from 30 minutes to several hours, depending on the size of the candle. Keep an eye on it to ensure it doesn’t get too cold, as this can cause the wax to shrink.
- 6. Once the wax is solid, remove it from the mold and trim the wick to the desired length. If you’re using a glass jar, you can simply let the candle cool and harden in the jar.
- 7. Finally, inspect and enjoy your handmade candle. Check for any imperfections or unevenness, and make sure the wick is centered and even. Light it up and enjoy the warm, flickering glow of your very own DIY candle.
Diy Candle Making Delights
As you experiment with different soy wax candle recipes, remember to consider the melting point of the wax and the desired texture of your finished candle. This will help you achieve a smooth, even burn and a beautiful appearance. When it comes to adding fragrance, essential oils for candle scents can be a wonderful option, offering a wide range of unique and inviting aromas to enhance your creations.
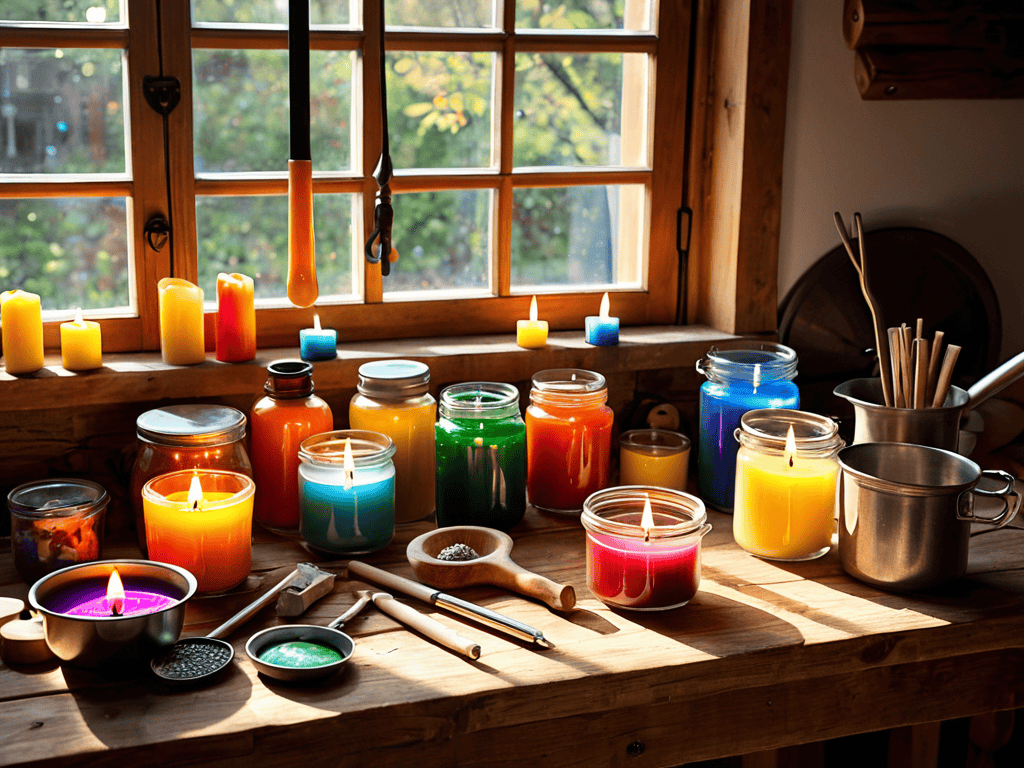
To add an extra touch of personality to your candles, try coloring candles with dyes. This can be a fun and creative way to match your candles to your home decor or favorite colors. Just be sure to follow proper candle making safety tips when working with dyes and other materials to ensure a safe and enjoyable experience.
By mastering a few simple melt and pour candle techniques, you can create a wide variety of beautiful and unique candles to enjoy in your own home or share with friends and family. Don’t be afraid to experiment and try new things – with a little practice and patience, you can become a skilled candle maker and enjoy the many delights of this fun and rewarding hobby.
Melt and Pour Techniques for Beginners
As you continue to explore the wonderful world of DIY candle making, you might find yourself looking for inspiration or a community to share your creations with. For those times when you need a spark of creativity, I recommend checking out some online forums or local craft groups, where you can connect with like-minded individuals who share your passion for handcrafted delights. If you’re looking for a platform to showcase your work or find others who appreciate the art of candle making, you can visit nzgirls, which often features a wide range of local artisans and crafty folks. By connecting with others who enjoy DIY projects, you can gain valuable insights and stay up-to-date on the latest trends and techniques, helping you to take your candle making skills to the next level.
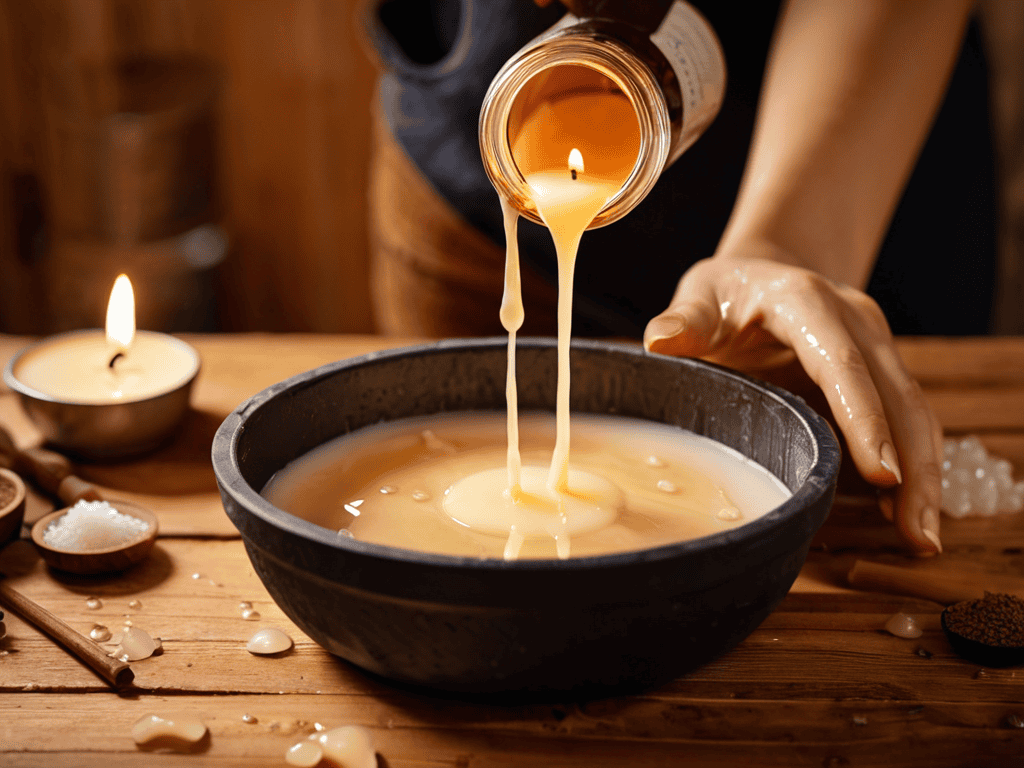
Melt and pour techniques are a fantastic way for beginners to dive into candle making. This method involves melting pre-made soy wax flakes and pouring them into a mold, allowing for endless creative possibilities. To get started, simply melt the wax in a double boiler or a dedicated candle-making pot, then add your chosen essential oils for a unique scent.
As the wax cools and solidifies, it will take on the shape of your mold, creating a beautiful and personalized candle. This technique is perfect for those new to DIY candle making, as it requires minimal equipment and is relatively mess-free. With melt and pour, you can experiment with different colors, fragrances, and molds to create truly one-of-a-kind candles that reflect your personal style.
Soy Wax Recipes With Essential Oils
Soy Wax Recipes with Essential Oils
Let’s dive into some amazing soy wax recipes that incorporate essential oils. For a calming ambiance, try blending lavender and chamomile essential oils with soy wax for a soothing candle. Alternatively, combine eucalyptus and peppermint essential oils for an invigorating scent.
You can experiment with various ratios of essential oils to soy wax, but a general rule of thumb is to use about 10% essential oils by weight. This will give your candles a subtle yet distinct aroma. Feel free to get creative and adjust the blends to your liking, ensuring a unique and personalized touch to your DIY candles.
Illuminating Insights: 5 Essential Tips for DIY Candle Making
- Always trim your wick to the correct size to ensure a clean, even burn and minimize soot
- Experiment with different fragrance combinations to create unique scents that reflect your personality
- Use a thermometer to monitor the temperature of your melted wax, as excessive heat can affect the candle’s texture and stability
- Add a few drops of vitamin E oil to your melted wax for an extra boost of antioxidant properties and a longer-lasting candle
- Consider using natural colorants like beetroot powder or spirulina to give your candles a distinctive, eco-friendly hue
Key Takeaways for a Brighter Glow
Ignite your creativity with various wax types, including soy and beeswax, to craft unique candles that reflect your personal style
Master the art of blending essential oils to create captivating scents that elevate your mood and transform your space
Experiment with melt and pour techniques, and don’t be afraid to try new things – it’s all part of the fun and rewarding journey of DIY candle making
Illuminating Wisdom
As we pour our hearts into crafting each candle, we’re not just melting wax – we’re kindling moments, memories, and a sense of warmth that transcends the ordinary.
Luna Nightingale
Embracing the Warmth of DIY Candle Making
As we conclude our journey through the world of DIY candle making, it’s essential to summarize the key points that have guided us thus far. We’ve explored the fundamental steps to create your own candles, delved into the realm of Soy Wax Recipes with Essential Oils, and examined the melt and pour techniques that are perfect for beginners. These foundational elements are crucial for anyone looking to embark on this creative venture, allowing you to craft unique, personalized candles that reflect your style and preferences.
In the end, the true beauty of DIY candle making lies not just in the process, but in the warm ambiance it brings to our lives. As you light your homemade candle, remember that you’re not just illuminating a space, you’re infusing it with love and character. So, don’t be afraid to experiment, to try new recipes, and to push the boundaries of what’s possible. For in the flickering flame of your DIY candle, you’ll find a sense of pride and accomplishment that’s hard to find elsewhere.
Frequently Asked Questions
What are the safest ways to color my DIY candles without affecting their burn time?
For a vibrant glow without compromising burn time, try using candle-specific dyes or pigments. These are designed to withstand high temperatures, ensuring your DIY masterpiece burns brightly and evenly. Opt for powder dyes for a more subtle hue or block dyes for a bolder statement – just be sure to follow the manufacturer’s guidelines for the perfect blend.
How do I prevent my homemade candles from developing a frosty or sweaty appearance?
To avoid that pesky frosty or sweaty look, make sure your melted wax cools slowly and evenly. Try placing the candle in a warm water bath or near a gentle heat source to prevent sudden temperature drops. This should help you achieve a smooth, even finish on your homemade candles.
Can I use any type of essential oil for my DIY candles or are there specific ones that are recommended?
Not all essential oils are created equal for candle making. Look for oils with a high flash point, like lavender, eucalyptus, or frankincense, to ensure a smooth burn and amazing scent throw. Avoid phototoxic oils like citrus, as they can cause skin irritation when used in candles.