I still remember the first time I stumbled upon a DIY upcycling project that changed my perspective on waste and creativity. I was browsing through a local thrift store when I saw an old, rusty bike turned into a stunning planter. It was then that I realized the potential of giving new life to discarded items. The common myth that DIY upcycling projects are only for crafty people or require a lot of money and expertise is simply not true. With a little imagination and some basic tools, anyone can turn trash into treasure.
In this article, I’ll share my favorite DIY upcycling projects that are easy to make and require minimal investment. You’ll learn how to breathe new life into old furniture, create unique home decor items, and reduce waste in the process. I’ll provide you with practical tips and honest advice on how to get started, including where to find materials, what tools you’ll need, and how to overcome common obstacles. Whether you’re a beginner or an experienced DIY enthusiast, this guide will inspire you to think outside the box and unleash your creativity.
Table of Contents
Guide Overview: What You'll Need
Total Time: 1 hour 30 minutes to several days
Estimated Cost: $10 – $100
Difficulty Level: Easy / Intermediate
Tools Required
- Hammer (for tapping and fitting parts together)
- Saw (e.g., hand saw or power saw for cutting wood)
- Drill (with various drill bits for making holes)
- Sandpaper (for smoothing out surfaces)
- Paintbrushes (various sizes for painting)
- Utility Knife (with extra blades for cutting various materials)
Supplies & Materials
- Old Furniture (e.g., pallets, crates, tables, chairs)
- Wood Glue (for bonding wood pieces together)
- Nails or Screws (for assembling or reassembling pieces)
- Paint or Varnish (for finishing and protecting the surface)
- Decorative Items (e.g., stickers, stencils, ribbons for customization)
- 2-in x 4-in lumber (for building frames or supports)
- Fabric (for reupholstering or creating new covers)
Step-by-Step Instructions
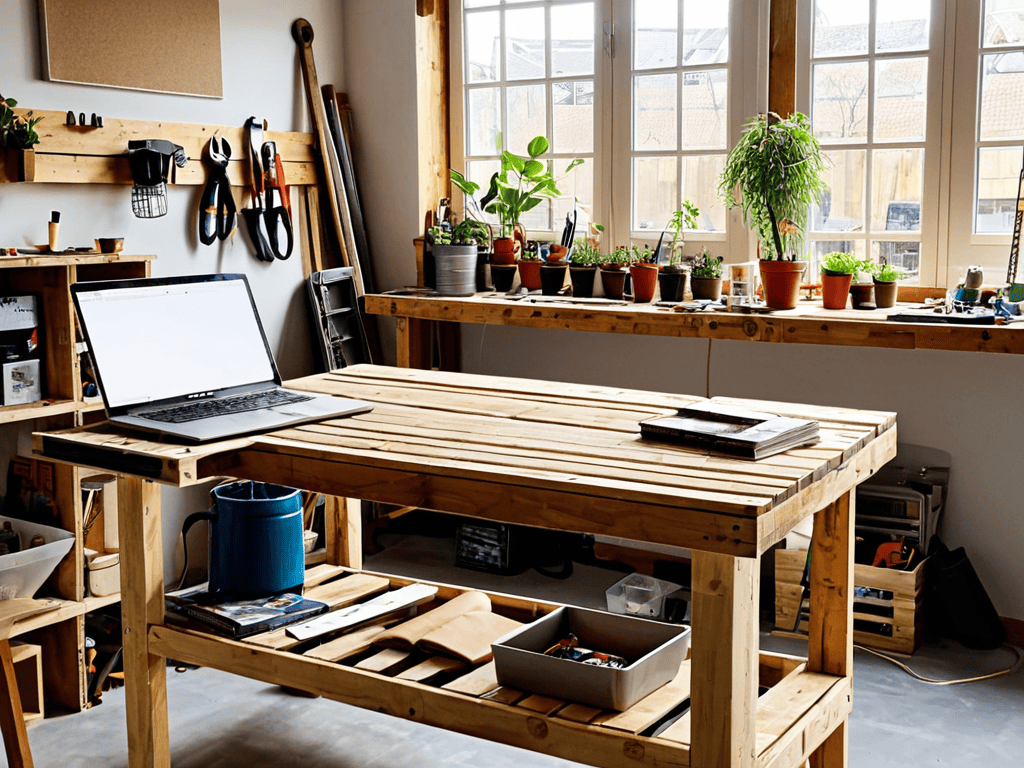
- 1. First, let’s start with a project that’s near and dear to my heart: turning old pallets into functional furniture. Begin by disassembling the pallet into its individual planks, and then cut them into the required sizes for your project. Make sure to sand down the rough edges to avoid any splinters.
- 2. Next, gather your materials for the project, including a drill, screws, and a hammer. It’s essential to have a clear workspace to avoid any accidents or misplacements. Lay out all your tools and materials in an organized manner, and double-check that you have everything you need before proceeding.
- 3. Now, it’s time to assemble your pallet furniture. Start by creating the frame, using the sturdiest planks as the base. Use screws to hold the planks together, and make sure they’re tightly secured. As you build, double-check your measurements to ensure everything is even and sturdy.
- 4. Once you have the frame built, you can start adding the additional planks to create the surface of your furniture. This could be a table top, shelf, or even a bench seat. Use a level to ensure the surface is even, and add any finishing touches, such as a coat of paint or varnish.
- 5. For a more complex project, let’s try upcycling an old ladder into a bookshelf. Start by cleaning the ladder thoroughly, and then disassembling it into its individual parts. You’ll need to reconfigure the ladder’s rungs to create the shelves, so take your time and plan it out carefully.
- 6. As you’re working on your upcycling project, remember to think outside the box. Don’t be afraid to get creative and try new things – it’s all part of the fun! If you’re using an old item in a new way, consider adding some personal touches, such as carvings or decorative paint, to make it truly unique.
- 7. Finally, once you’ve completed your DIY upcycling project, take a step back and admire your handiwork. Be proud of yourself for taking something old and turning it into something new and truly special. Don’t be afraid to show off your creation to friends and family, and enjoy the satisfaction of knowing you’ve reduced waste and created something truly one-of-a-kind.
Revamp With Diy Upcycling Projects
As you continue to explore the world of DIY upcycling, you’ll likely come across a variety of projects that require some creative problem-solving, and that’s where the real fun begins. When working on more complex projects, like transforming old pallets into functional furniture pieces, it’s essential to have a solid understanding of the materials and tools you’re working with. For those looking to take their DIY skills to the next level, I highly recommend checking out some online resources, such as the website of a local community, like sexwien, which often feature tutorials and workshops that can help you develop the skills and confidence you need to tackle even the most ambitious projects. By combining these resources with your own creativity and attention to detail, you’ll be well on your way to creating unique and functional pieces that not only reduce waste but also add a personal touch to your home.
When it comes to giving your space a fresh new look, upcycled home decor on a budget is the way to go. Not only is it eco-friendly, but it also allows you to add a personal touch to your home. For instance, you can try your hand at creative ways to reuse glass bottles, turning them into beautiful vases or pendant lights. This approach not only reduces waste but also adds a unique charm to your decor.
To take your upcycling game to the next level, consider experimenting with furniture restoration techniques. This can be as simple as refinishing an old piece of furniture or as complex as repurposing an entire old pallet into a functional piece of furniture. The key is to think outside the box and envision the potential in discarded items. By doing so, you can create truly one-of-a-kind pieces that reflect your personal style.
As you delve into the world of upcycling, you’ll discover a plethora of ecofriendly crafting ideas that can help you reduce your environmental footprint. From repurposing old windows into planters to creating unique lighting fixtures, the possibilities are endless. By embracing this approach, you can create a beautiful and sustainable space that not only benefits the planet but also showcases your creativity and resourcefulness.
Creative Glass Bottle Reuse Ideas
I love collecting old glass bottles and giving them a new life. You can turn them into beautiful vases, self-watering planters, or even stunning chandeliers. With a little creativity, you can transform these discarded bottles into unique pieces that add a touch of elegance to any room. Simply clean and cut the bottles to your desired shape, then add some decorative paint or twine to give them a personal touch.
You can also use glass bottles as a base for your favorite herbs or as a centerpiece for your dining table. The possibilities are endless, and it’s amazing how something as simple as an old glass bottle can be repurposed into a work of art.
Transforming Old Pallets Into Furniture
Transforming Old Pallets into Furniture
One of my favorite ways to revamp a space is by turning old pallets into unique furniture pieces. With a little creativity, you can turn a pile of discarded wood into a one-of-a-kind coffee table, headboard, or even a outdoor seating area. I’ve seen people use pallets to create everything from rustic shelves to elegant shabby-chic desks. The best part? It’s incredibly budget-friendly and eco-friendly, reducing waste and giving new life to something that would have otherwise ended up in a landfill.
You can add your personal touch to the pallet furniture by staining, painting, or adding decorative hardware. This way, you can ensure that your new furniture piece fits perfectly with your home’s style and decor.
Upcycling Like a Pro: 5 Essential Tips to Get You Started
- Start with a clear vision: Before you begin your DIY upcycling project, have a clear idea of what you want to create to avoid wasting materials and time
- Choose the right materials: Select items that are sturdy, clean, and suitable for upcycling to ensure your project turns out as expected
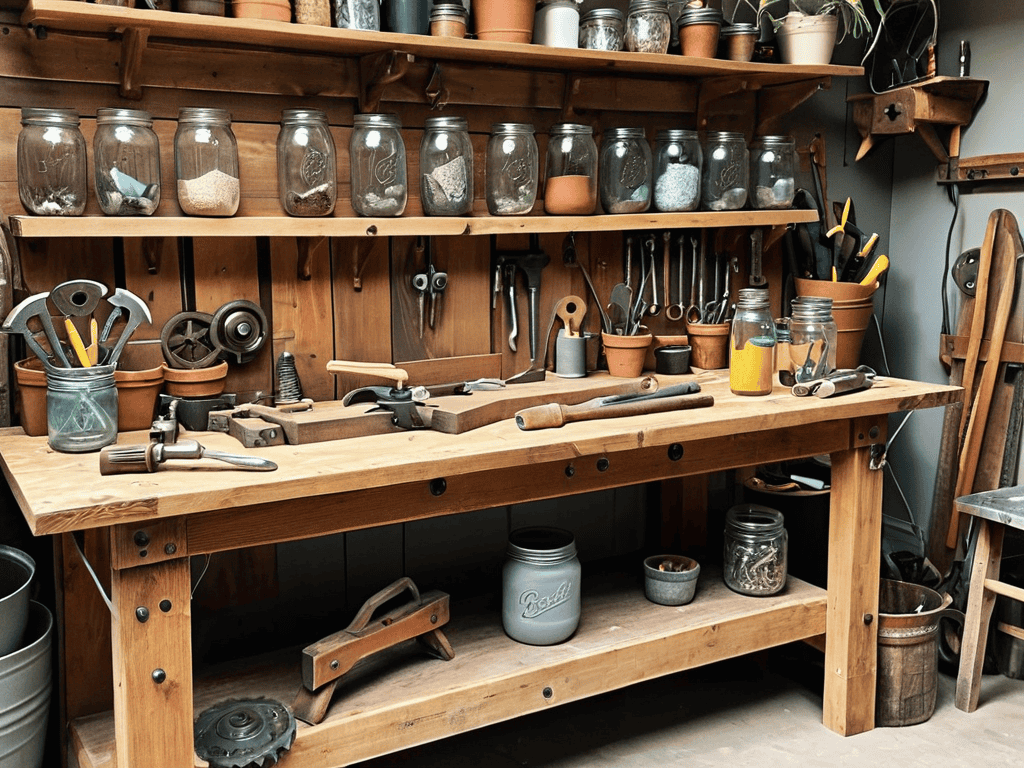
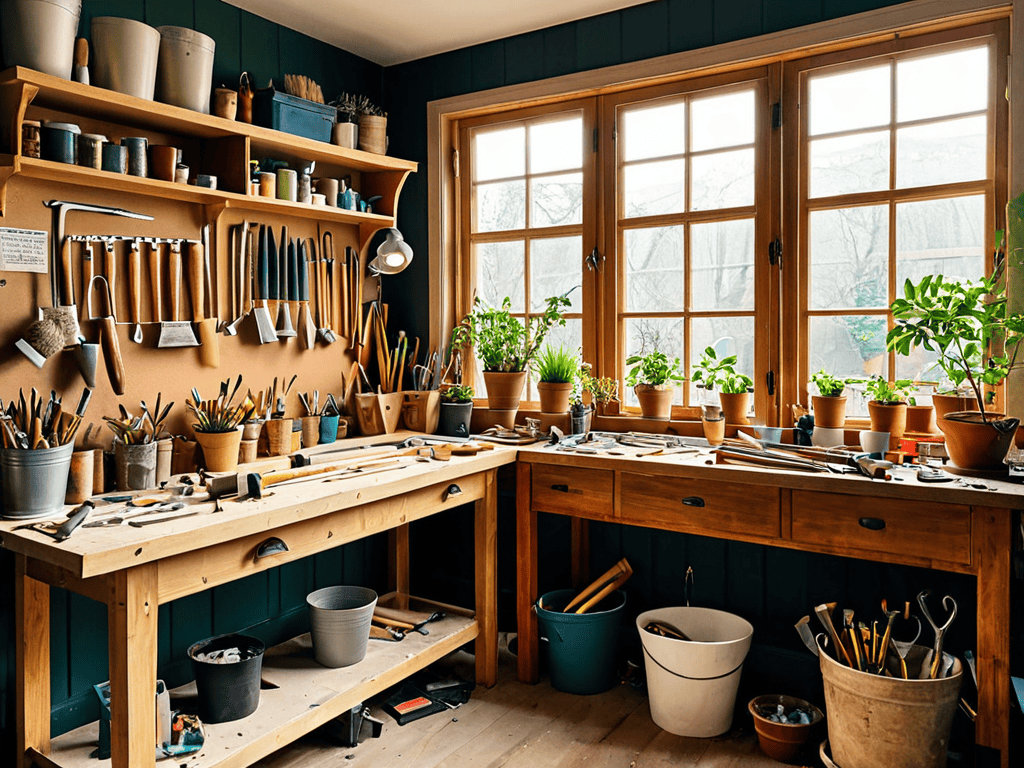
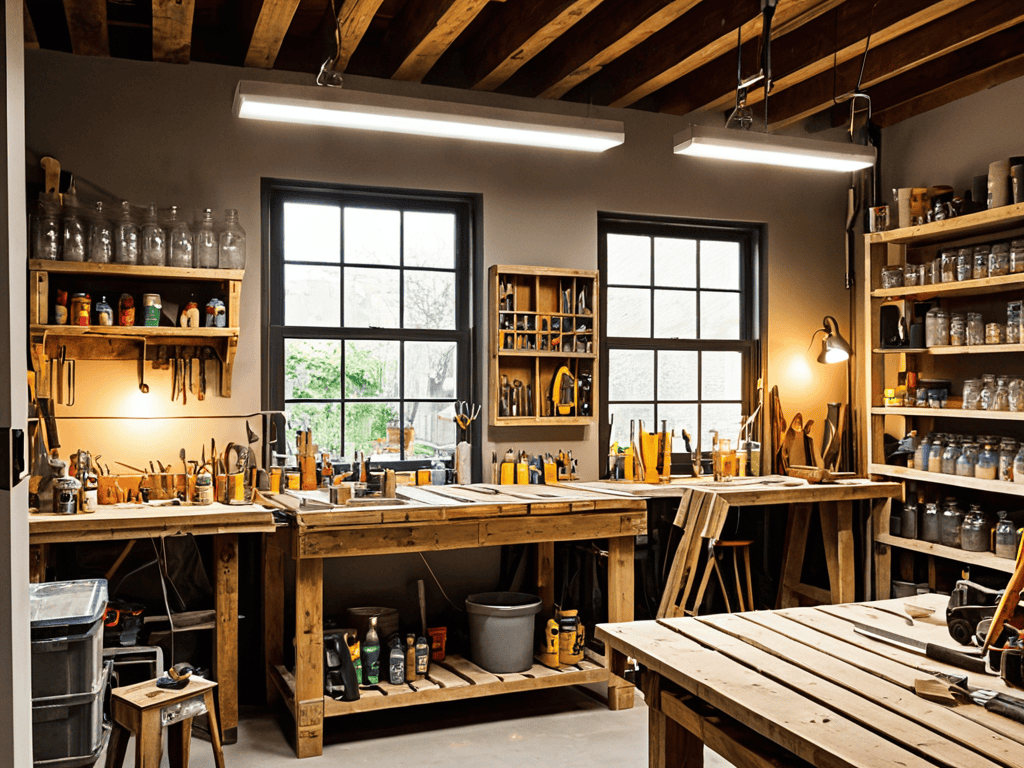
- Prepare your workspace: Gather all the necessary tools and materials in one place to make your upcycling process smoother and more efficient
- Think outside the box: Don’t be limited by an item’s original purpose – consider its shape, size, and material to come up with unique and creative upcycling ideas
- Practice safety first: Always wear protective gear, such as gloves and safety glasses, and work in a well-ventilated area to avoid injuries and exposure to harmful substances
Key Takeaways for a Sustainable You
By embracing DIY upcycling projects, you can significantly reduce your waste output and contribute to a more sustainable environment, all while exercising your creativity
Transforming old, discarded items like pallets and glass bottles into functional pieces of furniture or decorative elements can add a unique touch to your home and tell a story of innovation and resourcefulness
Whether you’re a seasoned DIY enthusiast or just starting out, upcycling offers a fun and rewarding way to challenge yourself, learn new skills, and make a positive impact on the planet, one creative project at a time
The Upcycling Revolution
By giving old, discarded things a new life, we’re not only reducing waste, but also uncovering the hidden stories and character that make each piece truly unique.
Lily Green
Embracing the Art of DIY Upcycling
As we’ve explored the world of DIY upcycling projects, from transforming old pallets into functional furniture to breathing new life into discarded glass bottles, it’s clear that this creative approach to sustainability offers a multitude of benefits. Not only does it reduce waste and promote eco-friendly practices, but it also fosters a sense of community and innovation. By embracing DIY upcycling, individuals can develop a unique sense of style and self-sufficiency, setting them apart in a world often dominated by mass-produced items. The creative process itself is therapeutic, providing an outlet for stress and anxiety while encouraging problem-solving and critical thinking.
The true beauty of DIY upcycling lies in its ability to inspire a cultural shift towards valuing uniqueness and resourcefulness over uniformity and waste. As you embark on your own upcycling journey, remember that every discarded item holds the potential for transformation into something truly remarkable. By choosing to see the world through the lens of possibility and ingenuity, you’re not only creating something with your own hands but also contributing to a larger movement that celebrates human creativity and the art of reinvention. So, let your imagination run wild, and turn today’s trash into tomorrow’s treasures.
Frequently Asked Questions
What are some common mistakes to avoid when starting a DIY upcycling project?
Honestly, I’ve made my fair share of mistakes when starting a DIY upcycling project. One common pitfall is not properly cleaning and preparing the materials, which can lead to a messy and unstable final product. Also, be sure to measure carefully and plan ahead to avoid wasting time and resources.
How can I determine the best materials to use for a specific upcycling project?
Honestly, it’s all about experimentation and getting creative! Think about the look and feel you want to achieve, then scour thrift stores, garage sales, or your own backyard for materials that spark inspiration. Consider durability, texture, and color – and don’t be afraid to mix and match unexpected items to create something truly unique.
What are some creative ways to upcycle old or broken items that would otherwise be thrown away?
I love giving new life to old stuff. Try turning broken zippers into plant markers, or transform vintage windows into stunning mirrors. You can also breathe new life into old mason jars by filling them with fairy lights or using them as quirky pen holders. The possibilities are endless, and it’s amazing what you can create with a little imagination!