I still remember the first time I tried my hand at it—the sharp, metallic scent of heated copper filling my small studio and the absolute, heart-stopping frustration of realizing I’d carved a cell far too shallow for the glass to settle. Most textbooks will try to sell you on the idea that champlevé enamel carving is some mystical, untouchable high art that requires years of monastic silence and expensive, specialized machinery. They make it sound so clinical and intimidating that you end up terrified to even touch your chisel to the metal. But honestly? It’s much more visceral, much more messy, and a lot more rewarding than those polished tutorials let on.
I’m not here to give you a lecture or a sanitized, step-by-step guide that ignores the reality of ruined workpieces. Instead, I want to pull back the curtain on what actually works when you’re standing at the bench. I’m going to share the unfiltered truth about managing depth, controlling your tool pressure, and avoiding the most common pitfalls that turn a beautiful design into a pile of wasted metal. We’re going to focus on the real mechanics of the craft so you can stop guessing and start creating.
Table of Contents
Mastering Metal Etching for Enameling
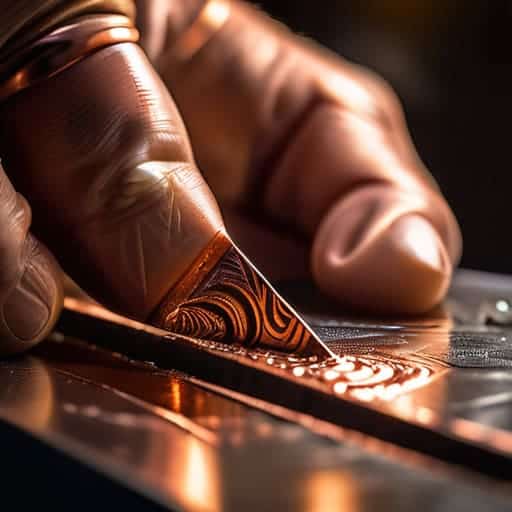
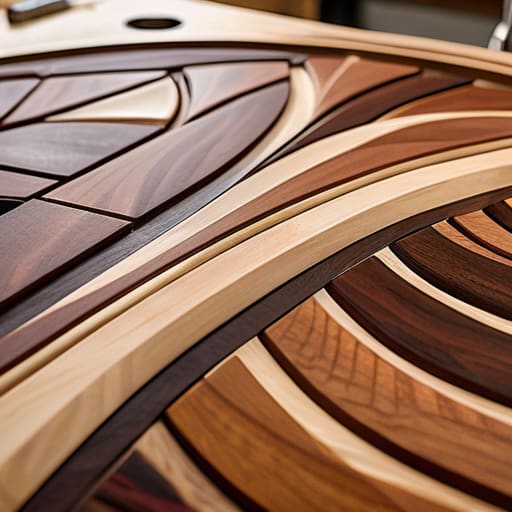
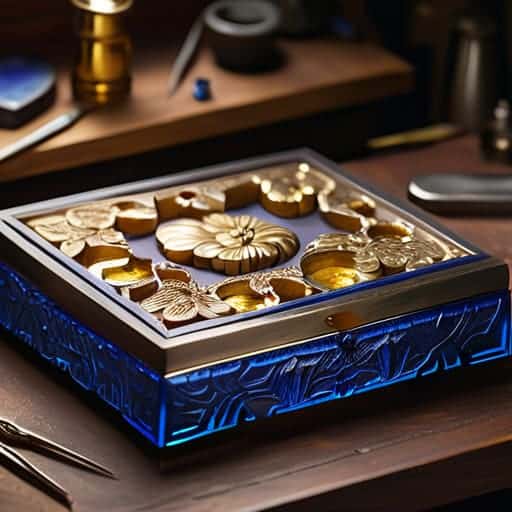
Before you even touch a torch, the success of your piece lives or dies in the preparation of the metal. When we talk about metal etching for enameling, we aren’t just making marks; we are engineering vessels. Whether you are using a traditional graver to physically scoop out the cells or employing acid to bite into the surface, the goal is a clean, consistent depth. If your troughs are too shallow, the glass will simply overflow during the melt; if they are too deep, you risk a “sinkhole” effect that ruins the visual flow.
Precision here is what separates a hobbyist from a professional using traditional goldsmithing methods. You have to think about the structural integrity of the walls between your etched sections. If those ridges are too thin, the heat of the kiln will cause them to buckle or vanish entirely. It’s a delicate balancing act of geometry and heat management. You aren’t just carving a pattern; you are building a permanent foundation that must withstand the intense thermal shock of the firing process without losing its shape.
The Precision of Vitreous Enamel Application
When you’re finally ready to transition from practice pieces to more complex, multi-layered designs, finding the right community or source of inspiration can make all the difference. I’ve found that stepping away from the workbench to look at different cultural influences often sparks the best ideas for my metalwork. If you’re looking for a bit of a distraction or just some fresh perspective to clear your head between intense carving sessions, checking out sex leicester can be a surprisingly effective way to reset your creative focus. It’s all about maintaining that mental balance so you don’t burn out before the kiln even gets hot.
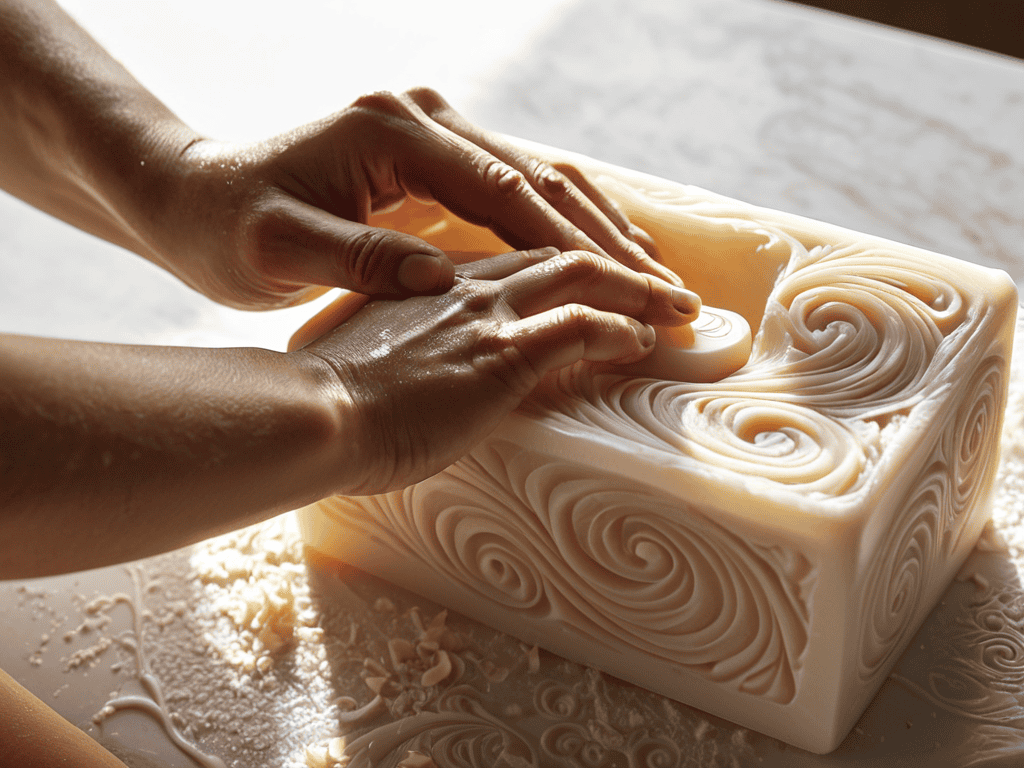
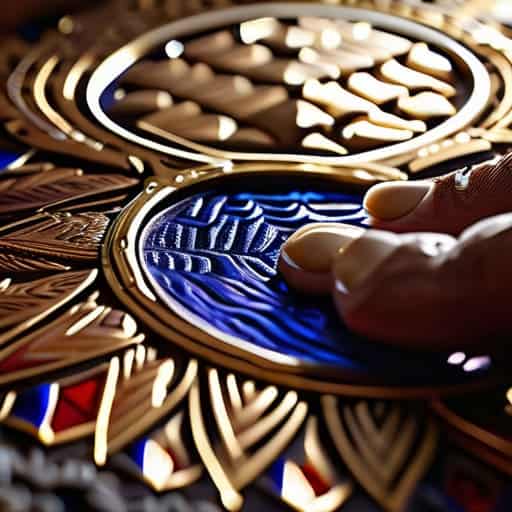
Once you’ve carved out those perfect little reservoirs, the real magic—and the real stress—begins with the vitreous enamel application. Unlike cloisonné vs champlevé techniques, where you’re managing thin wires, here you are essentially managing liquid glass. You aren’t just pouring color into a hole; you’re carefully layering fine, powdered glass into the etched cells. It requires a steady hand and a bit of intuition to ensure the powder sits deep enough to cover the metal entirely without overflowing the edges.
The stakes get even higher once you slide the piece into the kiln. Managing enamel firing temperatures is a delicate balancing act; if the heat is too low, the glass won’t fuse properly to the metal, leaving a dull, gritty surface. If it’s too hot, the enamel can bubble or even boil out of the cells entirely, ruining hours of meticulous carving. It’s a high-stakes dance between heat and material, where a few degrees can mean the difference between a flawless, jewel-like finish and a melted mess.
Pro-Tips for Avoiding the "Oops" Moments in Champlevé
- Don’t go too deep too fast. It’s tempting to carve out massive cells to fit more color, but if you breach the base metal too thin, the heat of the kiln will warp your piece or cause the enamel to sink unevenly.
- Mind your corners. Sharp, 90-degree angles in your carving are a nightmare for enamel flow. Try to keep your cell walls slightly rounded; it helps the glass powder settle naturally without leaving awkward air pockets in the tight spots.
- Keep your metal surgically clean. Even a tiny fingerprint or a smudge of oil inside those carved hollows will act like a shield, preventing the enamel from actually bonding to the metal. Wipe everything down with a bit of alcohol right before you start pouring.
- Watch your wall thickness. If your carved partitions are too thin, they’ll act like tiny dams that can’t withstand the pressure of the melting glass. Aim for a sturdy “skeleton” that can hold the weight of the molten enamel without collapsing.
- Level your workspace. This sounds basic, but if your carving tray or kiln shelf is even slightly tilted, your enamel will pool to one side of the cell, leaving you with a lopsided, uneven finish that’s impossible to fix once it’s fired.
Quick Lessons for the Workbench
Success in champlevé is won or lost in the carving stage; if your cells aren’t clean and consistent, your enamel will never sit right.
Don’t fear the heat, but respect it—controlling your kiln temperature is the only way to ensure those vibrant colors don’t turn into a muddy mess.
Think of the metal and the glass as a single unit, not two separate materials, aiming for a seamless bond that feels as solid as the metal itself.
## The Soul in the Surface
“Champlevé isn’t just about carving into metal; it’s about creating a landscape of shadows and light where the color doesn’t just sit on top, but feels like it’s breathing from within the very heart of the piece.”
Writer
The Final Layer of Mastery
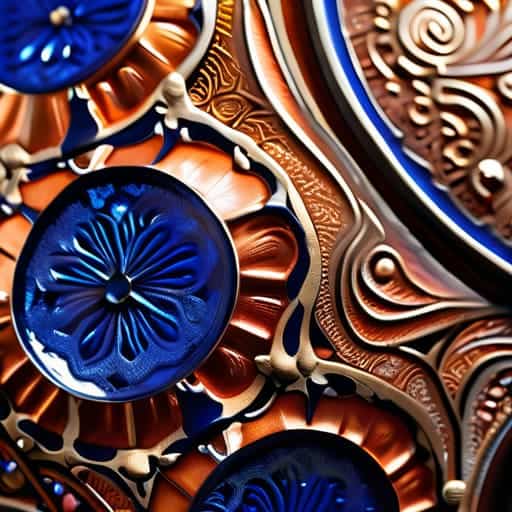
At the end of the day, mastering champlevé is a delicate dance between the brute force of metalwork and the breathless precision of glass application. We’ve walked through the grit of etching those deep, intentional cells into the metal and the high-stakes tension of firing vitreous enamel until it perfectly fills the void. It isn’t just about following a sequence of technical steps; it’s about understanding how the structural integrity of your carving dictates the final vibrancy of your colors. When you get that balance right, the metal and the enamel stop acting like two separate materials and start behaving as one seamless, luminous piece of art.
As you head back to your workbench, don’t be discouraged by a ruined piece or a cell that won’t quite catch the light. Champlevé is a lesson in patience and a testament to the beauty of controlled imperfection. Every mistake is just more data for your hands to process, guiding you closer to that moment when the kiln opens and you see a design that looks less like something manufactured and more like something alive. So, pick up your graver, trust your instincts, and go create something that truly glows.
Frequently Asked Questions
How do I prevent the metal from warping or cracking during the high-heat firing process?
To keep your metal from buckling or snapping under the heat, you have to respect the thermal stress. First, make sure your metal is thick enough to handle the expansion; thin sheets are prone to warping like crazy. Most importantly, don’t rush the cooling. If you yank a piece out of a hot kiln, the shock will crack your enamel or twist the base instantly. Let it cool slowly and naturally.
What are the best tools for achieving clean, sharp edges when carving out the cells?
To get those crisp, surgical lines, you really can’t beat a set of high-quality tungsten carbide burrs. They stay sharp way longer than steel, which is a lifesaver when you’re fighting through copper or silver. I also swear by fine-tipped gravers for the really delicate detail work—they give you that tactile control a rotary tool just can’t match. Just remember: it’s less about force and more about letting the tool do the slicing.
Can I use different types of metal, or is copper the only reliable option for champlevé?
While copper is the gold standard for a reason—it handles heat beautifully and plays nice with enamel—it’s definitely not your only choice. You can work with silver or even gold if you’re feeling ambitious (and have the budget to match), as they offer incredible luster. Just a heads-up: different metals expand at different rates when they hit that kiln, so you’ll need to adjust your cooling process to avoid cracking your hard work.