I still remember the day I decided to start Building a Pizza Oven in my backyard – it was a moment of pure excitement and terror. The myth that building a pizza oven is a monumental task, requiring a small fortune and a degree in engineering, had held me back for years. But I soon discovered that with the right guidance and a bit of patience, anyone can create their own pizza oven and start firing up delicious homemade pizzas. My journey was filled with trial and error, but the end result was well worth the effort.
As you embark on your own journey of Building a Pizza Oven, I want to assure you that this article will provide you with honest and practical advice, free from hype and unnecessary complexity. You’ll learn the essential steps to create a pizza oven that suits your needs and budget, from choosing the right materials to achieving the perfect cook. I’ll share my personal tips and tricks to ensure that your project is a success, and you’ll be enjoying your own homemade pizzas in no time. With this guide, you’ll be well on your way to becoming a pizza oven master, and I’m excited to share my knowledge with you.
Table of Contents
Project Overview
Total Time: 12 hours 30 minutes
Estimated Cost: $500 – $1000
Difficulty Level: Hard
Tools Required
- Shovel ((for digging and leveling))
- Trowel ((for applying mortar))
- Level ((for ensuring oven is level))
- Wheelbarrow ((for mixing and transporting concrete))
- Safety gloves ((for protecting hands while working with sharp objects))
- Fireproof insulation cutter ((for cutting insulation to size))
- Drill ((with masonry bits for drilling into brick or stone))
Supplies & Materials
- Refractory bricks ((for building the oven dome))
- Refractory mortar ((for holding bricks together))
- Insulation ((for keeping the oven warm))
- Fireproof cement ((for sealing gaps and cracks))
- Steel door frame ((for creating the oven door))
- Chimney flue ((for ventilating the oven))
- 2 inches x 6 inches lumber ((for building the oven base))
- Concrete mix ((for creating the oven foundation))
- Sand ((for drainage and leveling))
- Firebrick ((for lining the oven floor))
Step-by-Step Instructions
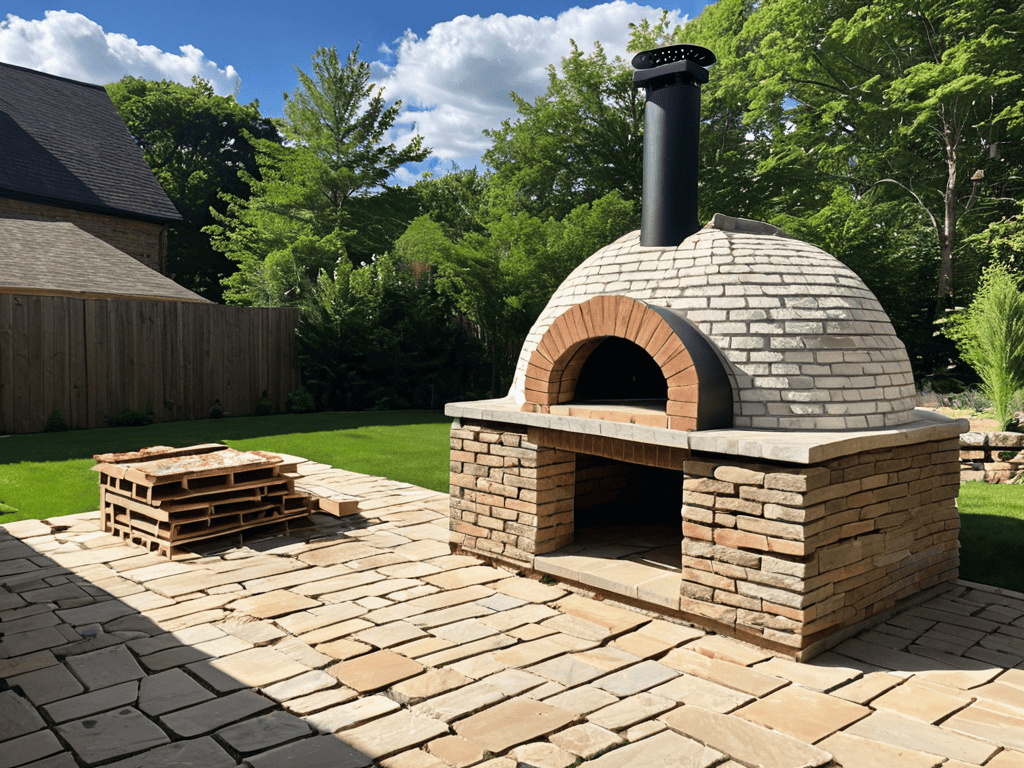
- 1. First, let’s start with the foundation of our pizza oven – the base. We need to lay a solid concrete slab that will support the weight of the oven and ensure it’s level. This is crucial for even heat distribution and to prevent any accidents. Begin by marking out the area where you want to build your oven, then dig a shallow hole to a depth of about 4 inches. Fill this hole with a layer of compacted gravel, followed by a concrete slab that’s at least 4 inches thick.
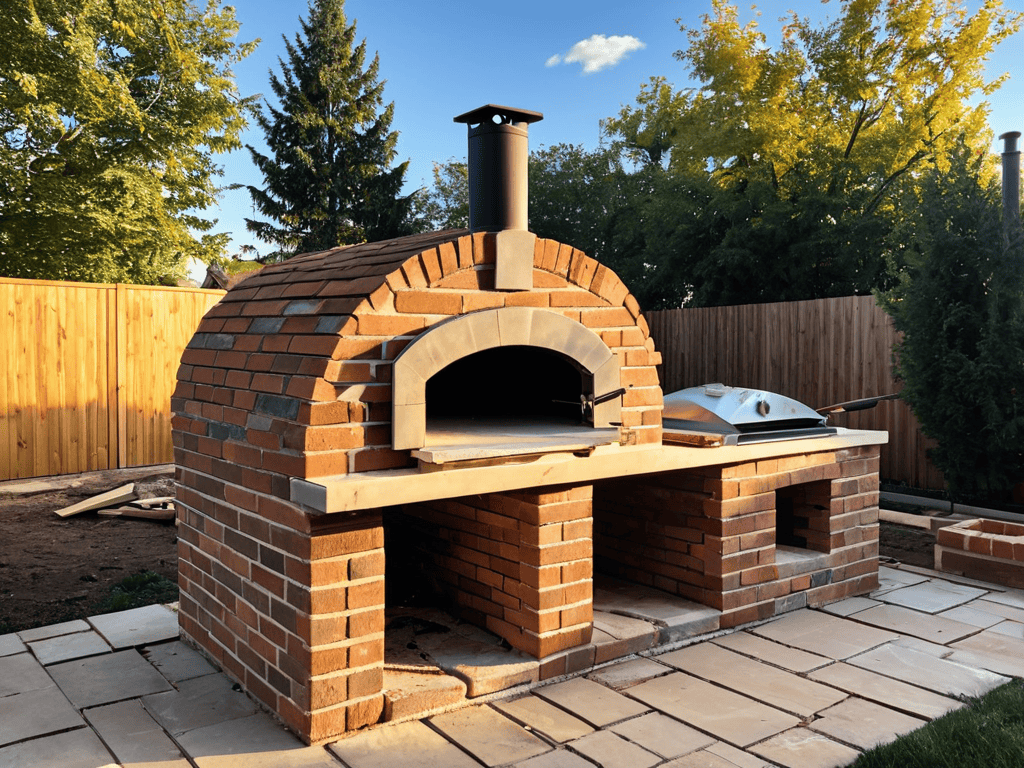
- 2. Next, we’ll move on to building the walls of our pizza oven. This involves constructing a brick or stone exterior that not only provides insulation but also gives our oven a rustic, traditional look. Start by laying the first course of bricks around the perimeter of your concrete slab, ensuring they’re level and securely fastened together with mortar. Continue adding courses, each one slightly smaller than the last to form the dome shape of your oven.
- 3. Now, it’s time to create the insulation layer, which is vital for maintaining high temperatures inside the oven while keeping the outside cool to the touch. Apply a thick layer of insulation material, such as ceramic blanket or vermiculite, around the brick structure. This step requires patience and attention to detail to ensure there are no gaps in the insulation.
- 4. The dome construction is perhaps the most challenging part of building a pizza oven. It requires careful planning and execution to achieve the perfect shape. Use a combination of brick and mortar to build up the dome, starting from the bottom and working your way up. Each brick should be carefully cut and placed to ensure a smooth, even surface.
- 5. With the dome in place, we can now focus on the chimney and venting system. A well-designed chimney is essential for drawing smoke out of the oven and improving airflow. Construct the chimney using brick or metal, ensuring it’s tall enough to provide a good draw. The venting system should allow for easy adjustment to control the flow of air and smoke.
- 6. Next, we need to install the oven door and handle. The door should be made of a heat-resistant material, such as cast iron or steel, and should fit snugly into the opening of the oven. Add a handle made from a heat-resistant material to make it easy to open and close the door. Ensure the door is well-insulated to prevent heat loss.
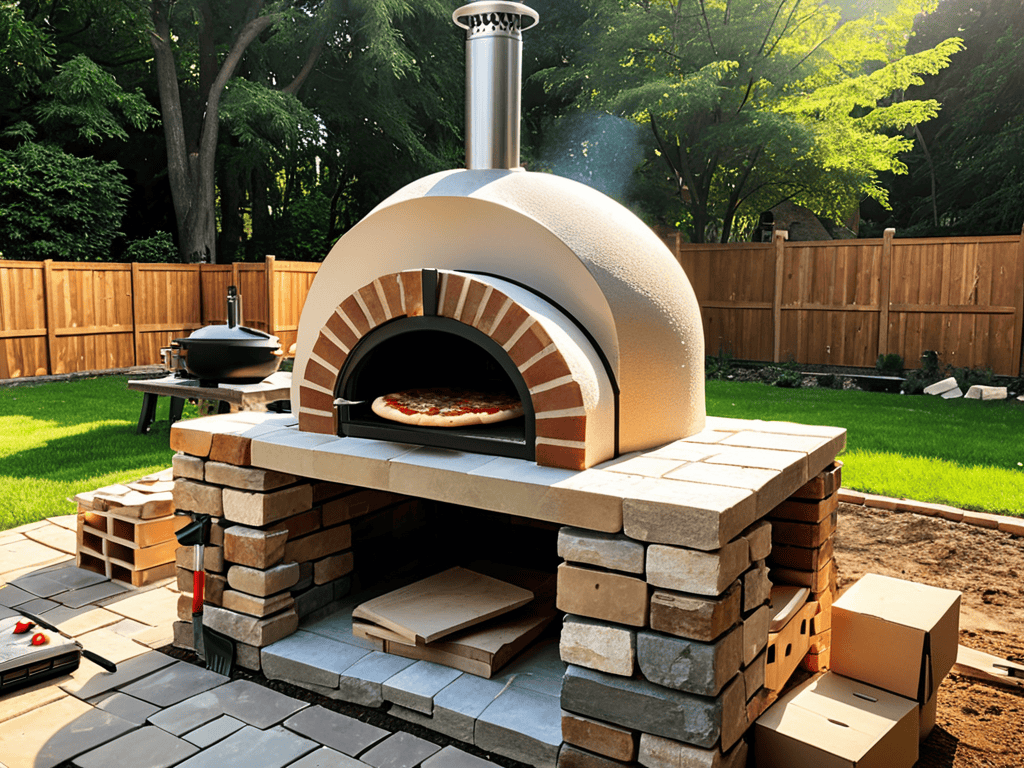
- 7. Finally, let’s add a finishing touch to our pizza oven – the exterior finish. This can include a layer of stucco, tile, or brick veneer to protect the oven from the elements and give it a personalized look. Apply your chosen finish according to the manufacturer’s instructions, ensuring it’s fully dry and cured before use.
- 8. Before we can start cooking, we need to cure the oven. This involves heating the oven gradually over a period of days to burn off any moisture and ensure the materials are fully set. Start with low temperatures and gradually increase the heat, monitoring the oven’s condition closely to avoid any cracks or damage.
Building a Pizza Oven
As you work on your outdoor pizza oven designs, it’s essential to consider the type of diy pizza oven kits you’ll be using. These kits can simplify the process, but make sure to choose one that fits your needs and skill level. When it comes to the foundation, a strong base is crucial for a successful build.
As you’re working on perfecting your pizza oven’s temperature control, it’s essential to have access to reliable resources that can help you troubleshoot any issues that may arise. I’ve found that having a comprehensive guide or a community of like-minded enthusiasts can be incredibly valuable in ensuring your wood-fired pizza oven is always performing at its best. For those looking to connect with others who share their passion for pizza-making, I recommend checking out sexkontakte hamburg for some interesting insights, although it may not be directly related to pizza ovens, it’s a great example of how online communities can come together to share ideas and advice, and who knows, you might even discover some new pizza-loving friends along the way.
To achieve the perfect cook, you’ll need to focus on wood fired pizza oven temperature control. This can be a bit tricky, but with the right techniques and materials, you can master it. For instance, using a refractory cement mixture can help retain heat and ensure a consistent temperature.
In terms of pizza oven insulation methods, there are several options to choose from, including ceramic blankets or vermiculite. Proper insulation is vital to maintain the heat and efficiency of your oven. By investing time and effort into these details, you’ll be rewarded with a beautifully crafted brick pizza oven that will provide years of delicious meals and memorable gatherings.
Crafting Diy Pizza Oven Kits With Ease
When it comes to crafting DIY pizza oven kits, the process can be surprisingly straightforward. With a few simple tools and some basic materials, you can create a fully functional pizza oven that’s tailored to your specific needs. One of the biggest advantages of DIY kits is the ability to customize your oven’s design and features. Whether you’re looking for a compact, portable oven or a large, permanent installation, there’s a DIY kit out there to suit your style.
By following a few basic steps and using some clever tricks, you can bring your DIY pizza oven kit to life. From selecting the perfect materials to assembling the final product, the process is both fun and rewarding. With a little creativity and some hands-on effort, you can be enjoying delicious, homemade pizzas in no time.
Mastering Wood Fired Pizza Oven Temperature Control
To achieve the perfect crust, mastering temperature control is crucial. Wood fired pizza ovens can be finicky, but with practice, you’ll get the hang of it. I’ve found that using a combination of wood types and adjusting the airflow helps maintain a consistent temperature. It’s all about finding that sweet spot between 500°F to 600°F for the perfect Neapolitan-style pizza.
By monitoring the temperature and making adjustments as needed, you’ll be able to cook your pizzas to perfection. I recommend investing in a good thermometer to ensure accuracy. With a little patience and practice, you’ll be a pro at controlling the temperature in your wood fired pizza oven in no time.
Bringing Your Vision to Life: 5 Essential Tips for Building a Pizza Oven
- Choose the Right Location: Ensure your pizza oven is situated in a well-ventilated area, protected from the elements, and easily accessible for cooking and maintenance
- Select the Perfect Materials: From refractory bricks to insulation, picking the right materials can make all the difference in the performance and longevity of your pizza oven
- Design with Functionality in Mind: Consider the size, shape, and features of your pizza oven to maximize cooking space, efficiency, and the overall cooking experience
- Master the Art of Insulation: Proper insulation is crucial for maintaining consistent temperatures and reducing heat loss, so don’t skimp on this critical step
- Plan for Ventilation and Drainage: A well-designed ventilation system and proper drainage can help prevent smoke buildup and moisture issues, ensuring a safe and enjoyable cooking experience
Key Takeaways for a Perfect Pizza Oven
Always prioritize proper insulation and ventilation when building your pizza oven to achieve optimal cooking results
Investing in a high-quality DIY pizza oven kit can simplify the construction process, but be sure to follow the manufacturer’s instructions carefully
Mastering wood-fired pizza oven temperature control is crucial for cooking perfect pizzas, so don’t be afraid to experiment and adjust your techniques as needed
A Labor of Love
Building a pizza oven is not just about constructing a piece of equipment, it’s about crafting a gathering place where memories are made and flavors come alive.
The Pizza Oven Enthusiast
Conclusion
As we conclude our journey to building a pizza oven, let’s recap the key points that will help you achieve pizza perfection. From crafting DIY pizza oven kits with ease to mastering wood fired pizza oven temperature control, every step is crucial in creating a culinary masterpiece. By following these steps and tips, you’ll be well on your way to hosting unforgettable pizza nights for friends and family.
So, what’s next? It’s time to fire up the flavor and bring your pizza oven to life! Remember, the art of building a pizza oven is not just about the end result, but about the journey itself. It’s about experimenting with new recipes, trying out different toppings, and sharing the joy of homemade pizza with loved ones. With your new pizza oven, the possibilities are endless, and the memories you create will be truly unforgettable.
Frequently Asked Questions
What are the most important safety considerations when building and using a pizza oven?
When building and using a pizza oven, safety is key. Ensure proper ventilation, keep a fire extinguisher nearby, and never leave a burning oven unattended. Also, use heat-resistant materials and keep children at a safe distance from the oven.
How do I determine the ideal size and design for my pizza oven based on my available outdoor space?
To determine the ideal size and design, consider your outdoor space’s dimensions and how you’ll use the oven. Think about the number of pizzas you’ll cook at once and the style of oven you want – will it be a cozy corner spot or a centerpiece for outdoor gatherings? Measure your space and balance functionality with aesthetics to find the perfect fit.
What types of materials are best for constructing a pizza oven that can withstand high temperatures and last for many years?
For a pizza oven that’s built to last, I swear by refractory materials like firebrick, ceramic insulation, and high-temperature mortar – they can withstand scorching temps and maintain heat beautifully.