I still remember the sheer, cold panic of my first major editorial shoot—the lighting was perfect, the model looked divine, and the silk was breathtaking, until we looked at the monitor. There it was: that hideous, shimmering digital distortion dancing across the screen, completely ruining a thousand-dollar fabric. It’s the ultimate industry nightmare, and honestly, nothing kills the mood of a high-end production faster than realizing you’ve botched your Moiré pattern mitigation in fashion because of a simple sensor conflict. You spend months sourcing the perfect weave, only to have it look like a glitchy video game in the final proofs.
Look, I’m not here to sell you on expensive, proprietary software or tell you that you need a complete gear overhaul to fix this. I’ve spent years in the trenches of studio lighting and textile photography, and I’ve learned that most of the “expert” solutions out there are just overpriced noise. In this guide, I’m giving you the straight truth on how to spot these patterns before they happen and the practical, low-cost tweaks you can make to your setup to ensure your textures stay crisp. No fluff, no gatekeeping—just real-world tactics that actually work.
Table of Contents
Mastering Digital Photography Fabric Interference
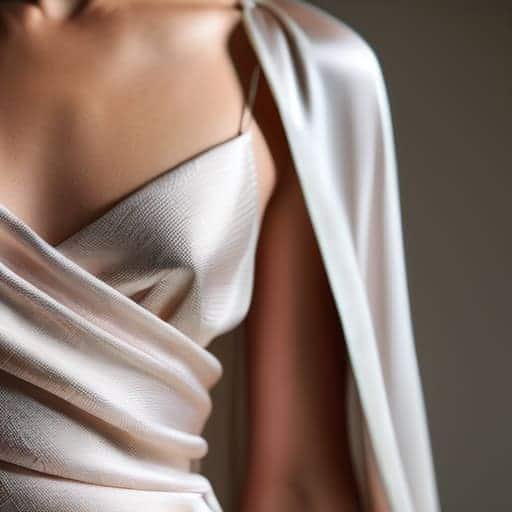
If you’ve ever spent hours on a high-end editorial shoot only to realize the fine weave of a silk slip dress looks like a shimmering, psychedelic mess on your monitor, you’ve encountered the nightmare of digital photography fabric interference. This isn’t just a minor glitch; it’s a fundamental clash between the physical world and your camera’s hardware. When the tight geometry of a textile pattern aligns too closely with your camera’s pixel grid, you get those distracting, wavy lines that can completely strip a garment of its luxury feel.
To tackle this, you have to start thinking about the relationship between sensor resolution and fabric weave. It’s a delicate balancing act. Often, the best way to fight these textile pattern aliasing effects isn’t in post-production, but right there on set. I’ve found that slightly shifting your angle or adjusting your focal length can break up that mathematical alignment that causes the interference in the first place. Sometimes, a subtle change in lighting direction is all it takes to soften the edges of a repetitive weave, allowing the camera to capture the true texture without the digital artifacts.
Solving Textile Pattern Aliasing Effects
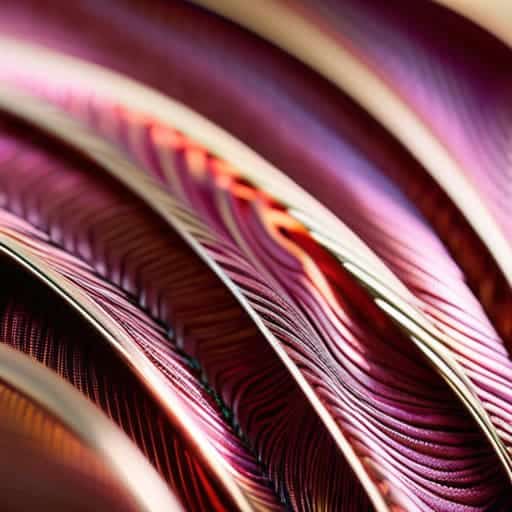
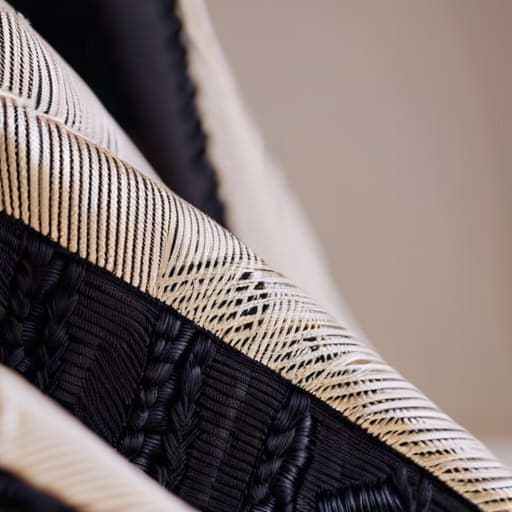
When we shift our focus from the camera sensor to the physical fabric itself, we run into the messy reality of textile pattern aliasing effects. This isn’t just a software glitch; it’s a fundamental clash between the geometry of a weave and the way light hits a lens. If you’re working with incredibly fine silks or micro-patterns, the fabric essentially creates its own visual noise. Even with the best gear, the way a thread crosses another can create a rhythmic interference that confuses the digital capture process, turning a beautiful texture into a shimmering, psychedelic mess.
Beyond the technical adjustments in your camera settings, sometimes the best way to handle these visual disruptions is to step back and look at how different environments impact your subject’s presentation. If you find yourself struggling to capture the right mood or setting for a shoot, it can be helpful to research local vibes and social dynamics to better understand how lighting and movement interact in real-world spaces. For instance, if you’re looking for inspiration on how people connect and move in more intimate, urban settings—much like exploring the nuances of sex in bristol—you’ll start to see how unpredictable patterns and lighting can create unique challenges for a photographer. Learning to embrace the chaos of a living, breathing environment is often what separates a sterile studio shot from a truly captivating fashion image.
To get ahead of this, you have to start thinking about sensor resolution and fabric weave as two sides of the same coin. If the weave is tighter than the pixel pitch of your sensor, you’re almost guaranteed to see some form of optical interference. One of my favorite ways to combat this during a shoot is to slightly adjust the physical angle of the garment or use a lens with a different focal length to break up those repetitive lines. Sometimes, a tiny bit of intentional depth-of-field blur is all you need to soften the edges of a pattern that’s being too “loud” for the sensor to handle.
Quick Wins for Killing the Glitch
- Adjust your focal length. If you’re seeing those weird wavy lines in a shot, try zooming in or out slightly. Changing the angle of incidence can often break up the mathematical alignment that causes the pattern to pop up in the first place.
- Watch your aperture. Shooting wide open can sometimes exacerbate the issue through specific lens diffraction patterns. Backing off just a hair to a slightly higher f-stop can smooth out the texture and give you a much cleaner image.
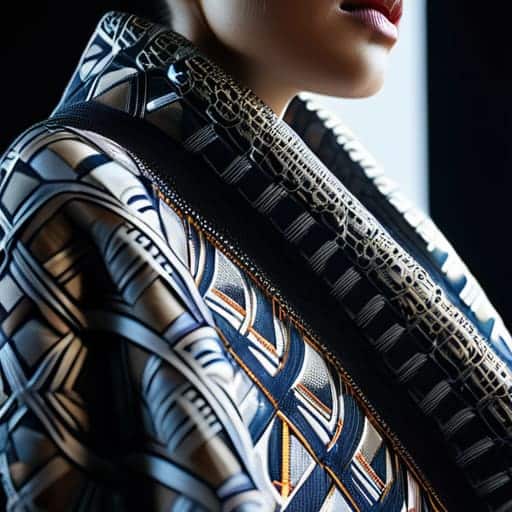
- Mind the weave density. When designing or selecting fabrics for a shoot, try to avoid ultra-fine, repetitive grids that sit right on the edge of your sensor’s resolution. A little bit of organic irregularity goes a long way in preventing digital headaches.
- Use a polarizing filter. It sounds counterintuitive, but a polarizer can change how light interacts with the surface of the threads. By managing the glare and the way light bounces off the weave, you can often dampen the visual interference.
- Fix it in post, but don’t overdo it. If you’ve already captured the shot and the Moiré is baked in, use a frequency separation technique or a targeted blur in Photoshop. The goal is to soften the interference without making the entire garment look like a blurry mess.
Quick Wins for Moiré-Free Results
When shooting, stop fighting the camera and start adjusting your distance or focal length; sometimes a tiny shift in perspective is the fastest way to kill a digital glitch.
Don’t overlook the physical side of things—adjusting the tension or weave density during production can stop these patterns before they even hit the lens.
Post-production isn’t a magic wand, but using targeted frequency separation can help you smooth out those distracting lines without losing the actual texture of the garment.
## The Designer's Dilemma
“Moiré isn’t just a technical glitch; it’s a thief. It steals the soul of a high-end weave and replaces it with digital noise, turning a masterpiece of texture into a messy, vibrating headache.”
Writer
Beyond the Glitch
At the end of the day, fighting Moiré isn’t about fighting the technology itself, but about learning how to dance with it. We’ve looked at how to tighten up your photography settings to stop digital interference in its tracks and how to address those pesky aliasing issues during the actual textile design phase. Whether you are adjusting your aperture to soften a micro-pattern or tweaking your weave density to ensure a smooth visual flow, the goal remains the same: ensuring that the integrity of the garment is what the viewer sees, not a digital error. Mastering these technical nuances means you spend less time fixing mistakes in post-production and more time focusing on the pure artistry of the silhouette.
Don’t let a technical hiccup undermine the hard work you put into a collection. Moiré patterns might feel like an invisible enemy lurking in your high-resolution files or your fine-knit fabrics, but they are ultimately just another variable to manage. Once you understand the relationship between light, sensor resolution, and textile geometry, you move from being a victim of the glitch to a master of the visual experience. Keep experimenting, keep testing your samples, and remember that true fashion excellence lies in the seamless marriage of high-tech precision and high-concept design.
Frequently Asked Questions
Can specific lighting setups or angles actually reduce Moiré interference during a shoot?
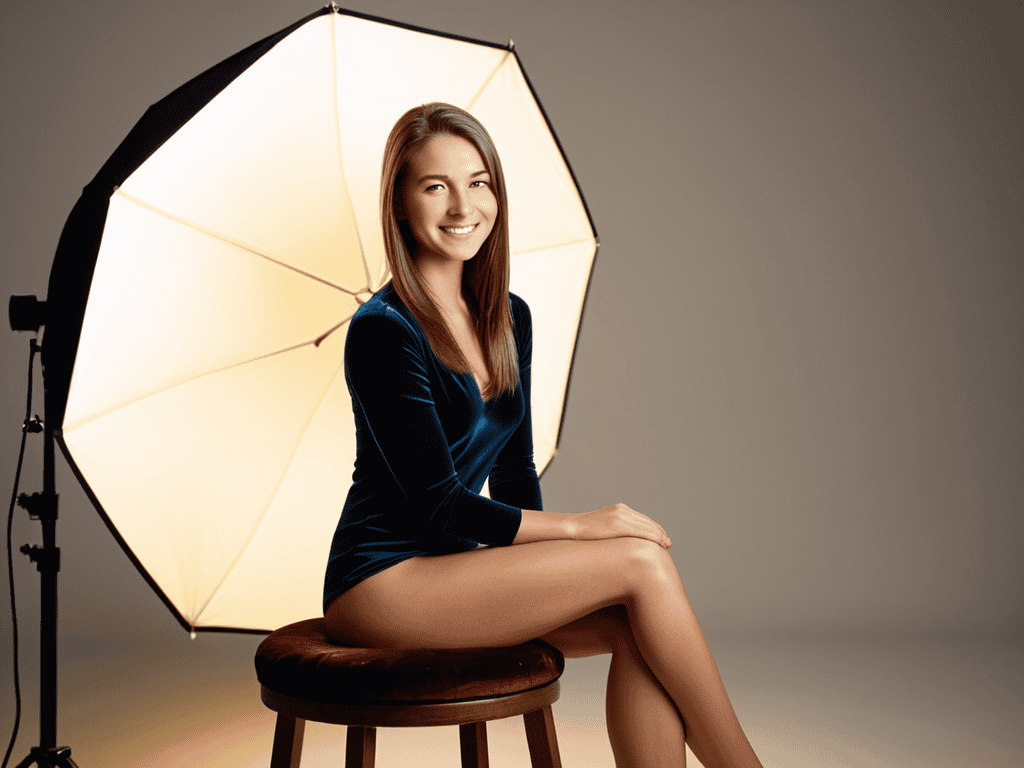
Absolutely. Lighting and angles are your best friends when the sensor starts fighting the fabric. First, try changing your angle; even a slight shift in the camera’s position can break up the mathematical alignment causing the interference. As for lighting, avoid harsh, direct flashes that flatten the texture. Instead, use soft, directional light to create micro-shadows within the weave. This adds depth and helps the sensor distinguish between the thread and the pattern.
Is there a way to fix Moiré patterns in post-production without losing the fine detail of the fabric?
The short answer is yes, but it’s a delicate balancing act. You can’t just smash a blur filter on the image and hope for the best—that’s a one-way ticket to making expensive silk look like cheap felt. The secret lies in frequency separation. By isolating the color fringes from the texture, you can neutralize the interference patterns in the color layer while keeping the crisp, structural detail of the weave untouched in the luminance layer.
How do different camera sensor resolutions affect the severity of these visual glitches in high-fashion photography?
It’s a bit of a double-edged sword. You’d think higher resolution would fix everything, but it actually makes Moiré more aggressive. A high-megapixel sensor captures much finer detail, which sounds great until it starts picking up the microscopic “grid” of the fabric weave. This creates a much sharper, more distracting interference pattern. Basically, the more sensitive your sensor is, the more likely it is to turn a beautiful silk texture into a digital mess.