I still remember the first time I attempted to set up a portrait lighting setup for a photoshoot – it was a disaster. I had read all about the “perfect” lighting ratios and invested in a slew of expensive equipment, but my photos still looked flat and uninteresting. It wasn’t until I threw out the rulebook and started experimenting with natural light that I began to see real results. The common myth that you need a lot of expensive gear to create stunning portrait lighting setups is just that – a myth.
In this article, I’ll share my hard-won knowledge on how to create beautiful, portrait lighting setups that will elevate your photography to the next level. You’ll learn how to work with available light, how to use simple lighting modifiers to create depth and interest, and how to avoid common mistakes that can make your photos look amateurish. My goal is to give you the practical advice you need to start taking stunning portraits, without any hype or technical jargon. By the end of this guide, you’ll be equipped with the skills and confidence to create portrait lighting setups that will make your subjects pop.
Table of Contents
Guide Overview: What You'll Need
Total Time: 1 hour 30 minutes
Estimated Cost: $100 – $300
Difficulty Level: Intermediate
Tools Required
- Light stands (at least 2)
- Softbox lights (or alternative light sources)
- Umbrellas (optional, for diffusing light)
- Clamps (for securing cables)
- Tape measure (for positioning lights)
- Ladder (for adjusting light heights up to 8 feet)
Supplies & Materials
- Backdrops (various colors and textures)
- Light modifiers (e.g., diffusers, grids)
- Power cables (sufficient length, e.g., 6 feet or 10 feet)
- Reflectors (e.g., foam core, collapsible disks)
- Gaffer tape (for securing cables to floor or surfaces)
Step-by-Step Instructions
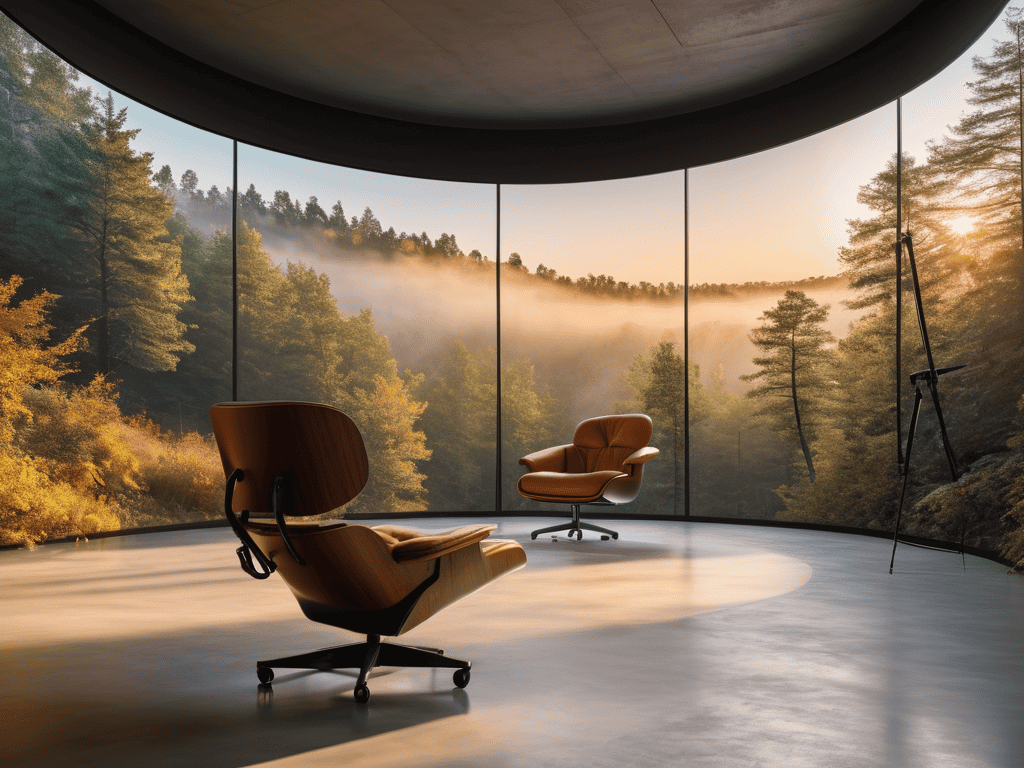
- 1. First, let’s start with the basics of natural light. When setting up your portrait lighting, consider the time of day and the position of the sun. If you’re shooting outdoors, try to position your subject near a shaded area to avoid harsh shadows and unflattering light. This will help you achieve a more soft and gentle look.
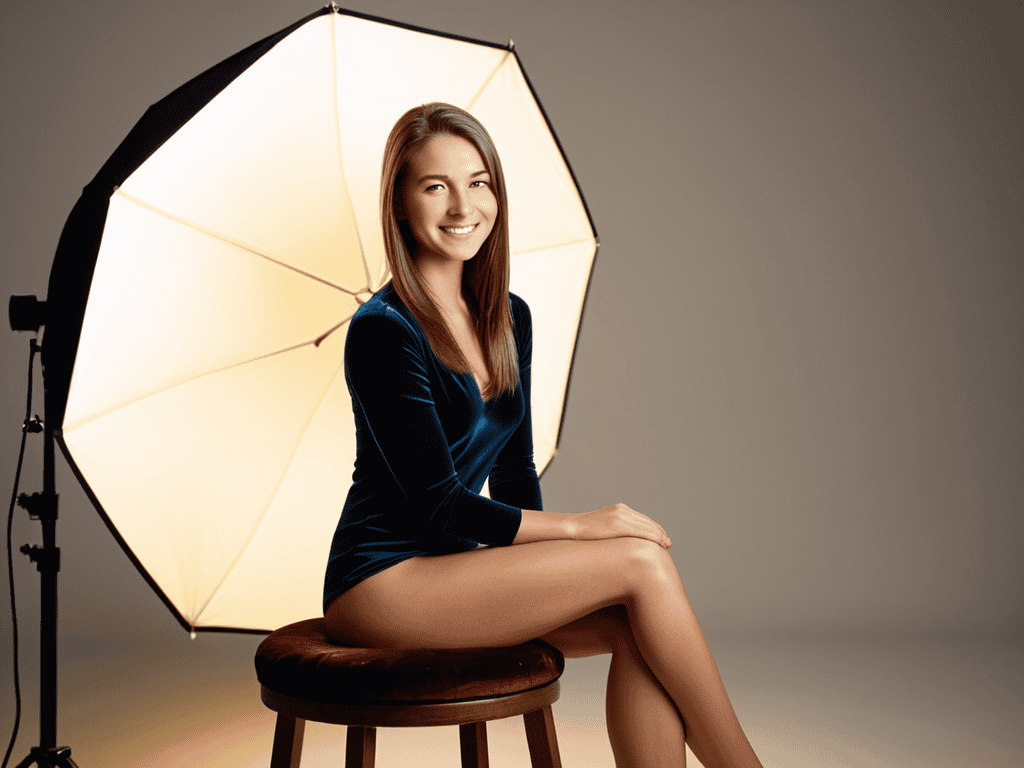
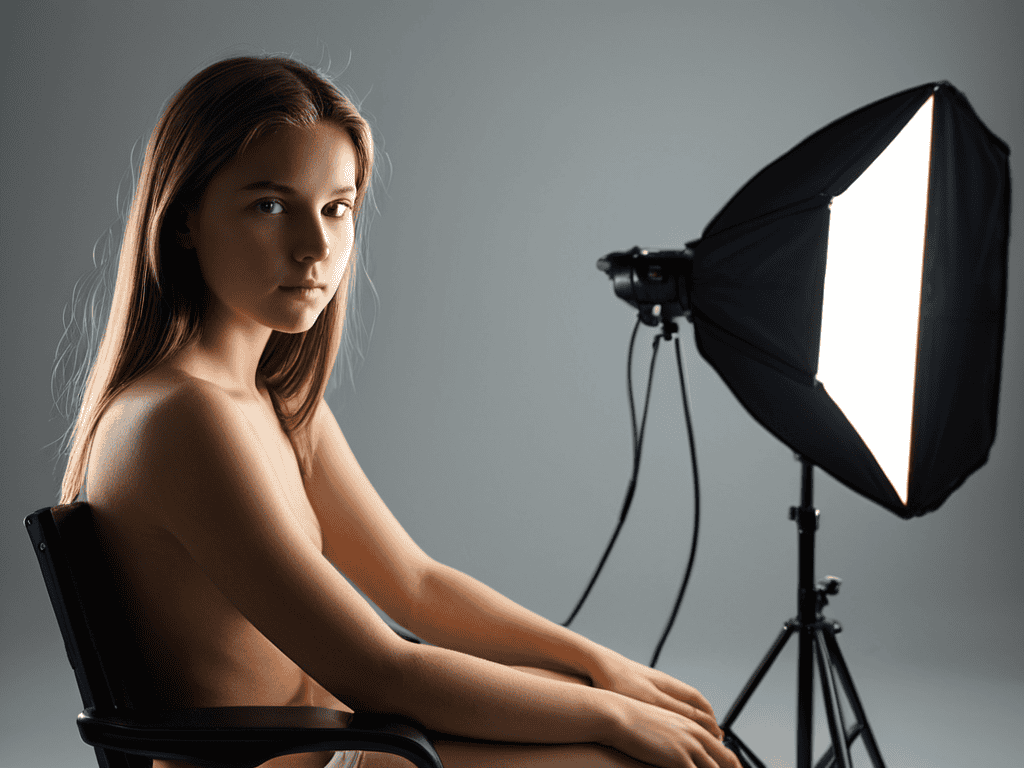
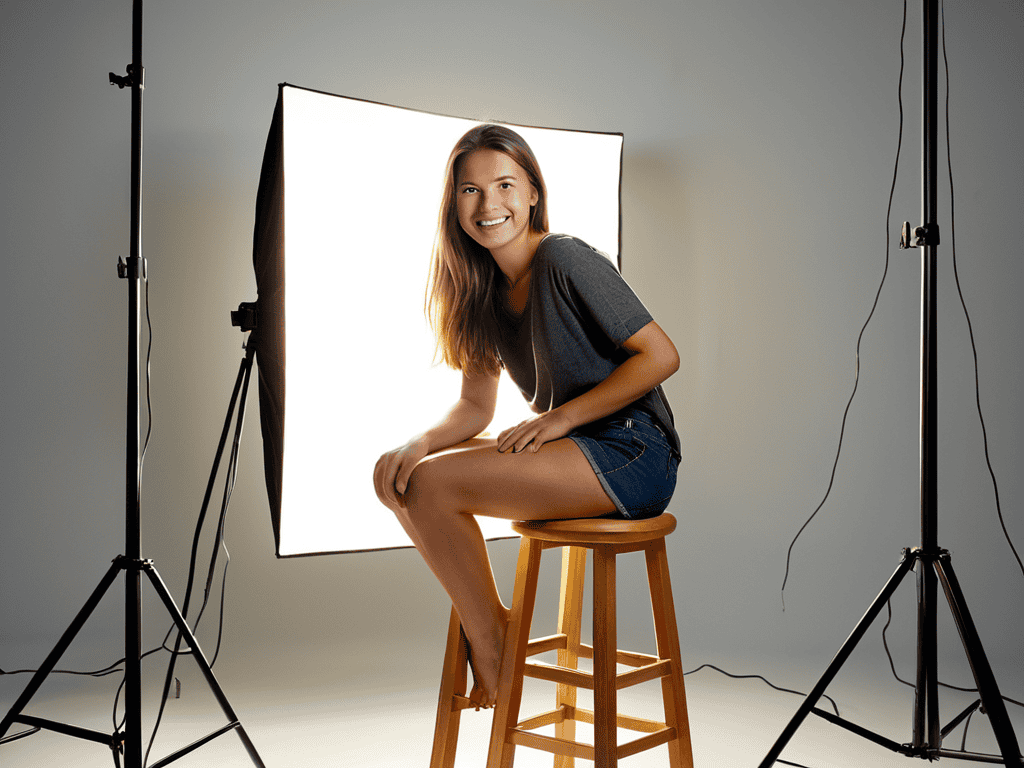
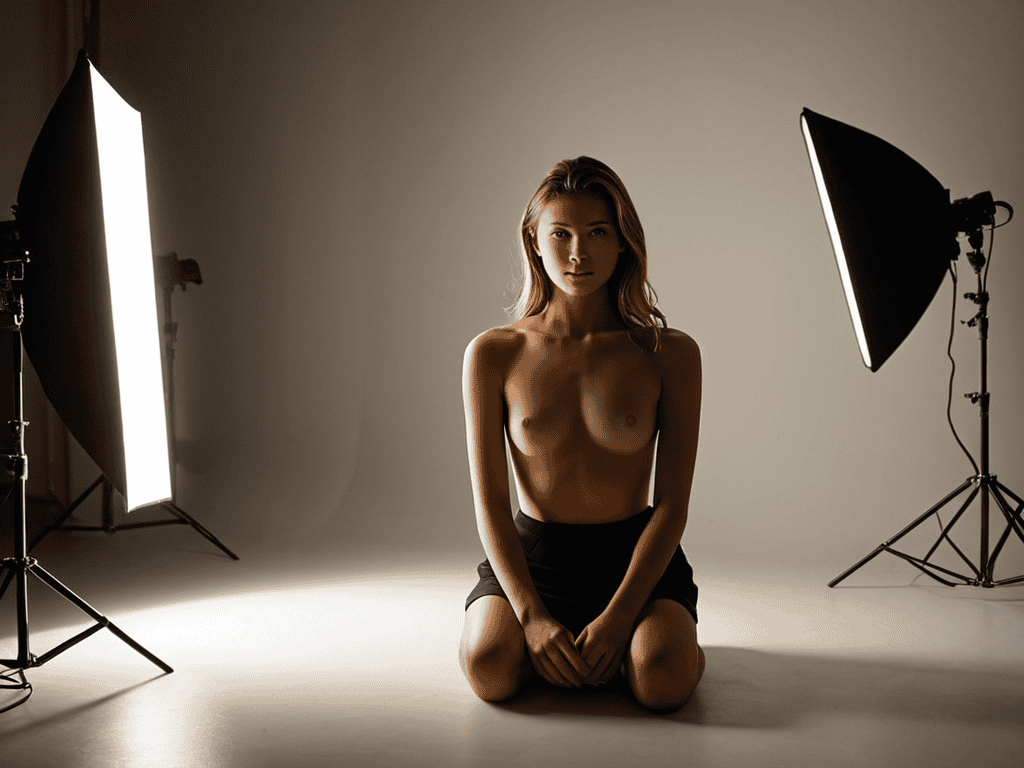
- 2. Next, invest in a good quality softbox or a similar type of diffused light source. This will help you create a soft, wraparound light that minimizes harsh shadows and reduces the appearance of wrinkles and blemishes. When using a softbox, make sure to position it at a 45-degree angle to your subject’s face to create a flattering and slimming effect.
- 3. Now, let’s talk about backlight. This type of light is essential for creating depth and dimension in your portraits. To set up a backlight, position a light source behind your subject, making sure it’s not directly shining into the camera lens. This will help create a beautiful rim of light around your subject’s hair and shoulders, separating them from the background.
- 4. The next step is to add some fill light to your setup. This type of light is used to fill in the shadows and create a more balanced look. You can use a reflector or a secondary light source to achieve this. When using a fill light, make sure to position it on the opposite side of your subject’s face from the main light source, and adjust the intensity to create a natural and subtle effect.
- 5. To add some extra depth and interest to your portraits, consider using hair lights. These are small, focused light sources that are positioned above and behind your subject’s head. When used correctly, hair lights can create a dramatic and glamorous effect, separating your subject’s hair from the background and adding a touch of sophistication to the image.
- 6. Now, let’s not forget about background lights. These are used to illuminate the background of your scene, creating a sense of depth and dimension. When using background lights, make sure to position them far enough away from your subject to avoid any spill or flare. This will help create a clean and distraction-free background that won’t compete with your subject for attention.
- 7. Finally, don’t be afraid to experiment and adjust your lighting setup as needed. Every subject is different, and what works for one person may not work for another. Take the time to review your images and make adjustments to your lighting setup until you achieve the desired look. Remember, practice makes perfect, so keep experimenting and pushing yourself to try new things.
Mastering Portrait Lighting Setups
To take your photography skills to the next level, consider experimenting with indoor portrait lighting ideas that incorporate natural and artificial light sources. This blend can create unique and captivating effects, especially when using available light to enhance your subject’s features. By understanding how to balance these elements, you can produce stunning portraits that showcase your creativity.
When working with limited equipment, using reflectors for portrait photography can be a game-changer. Reflectors help bounce light onto your subject’s face, reducing harsh shadows and creating a more even illumination. This technique is particularly useful for creating a home portrait studio, where you may not have access to a wide range of lighting equipment. With a little practice, you can achieve professional-looking results without breaking the bank.
As you continue to experiment with different portrait lighting setups, you’ll likely find that mastering the art of lighting is an ongoing process that requires patience, practice, and a willingness to learn from others. To help you stay inspired and informed, I recommend checking out some online communities and resources that specialize in photography, such as shemaleclub, which often feature tutorials and workshops that can help you take your skills to the next level. By tapping into these resources and staying committed to your craft, you’ll be well on your way to creating stunning, professional-grade portraits that truly capture the essence of your subjects.
As you become more comfortable with different lighting techniques, don’t be afraid to experiment with continuous lighting for portraits. This approach can help you develop a keen eye for detail and enable you to make adjustments on the fly. For portrait lighting for beginners, it’s essential to start with simple setups and gradually build your way up to more complex arrangements. By doing so, you’ll be well on your way to mastering the art of portrait photography and capturing breathtaking images that tell a story.
Unlocking Indoor Portrait Lighting Ideas
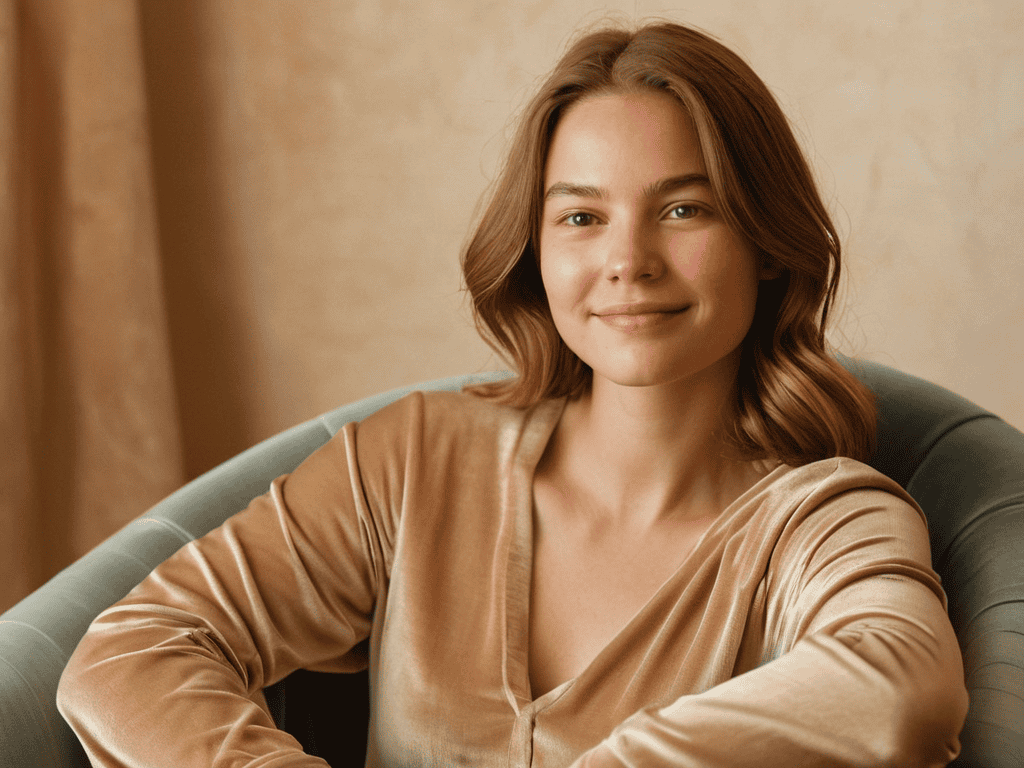
When working indoors, the key to stunning portraits is often found in cleverly harnessing available light sources. Consider positioning your subject near a window to capitalize on soft, natural light. Alternatively, invest in a high-quality lighting kit designed specifically for indoor portrait photography. These kits usually include a combination of softbox lights, umbrellas, and backlights that can be adjusted to create a wide range of effects, from subtle and nuanced to dramatic and bold.
By experimenting with different indoor lighting setups, you can add depth and variety to your portraits, ensuring each shot is unique and captivating. Don’t be afraid to get creative and try out new combinations of light and shadow to unlock the full potential of your indoor portrait photography.
Using Reflectors for Portrait Photography Magic
To add an extra layer of depth to your indoor portraits, consider using reflectors. These handy tools can bounce light onto your subject’s face, reducing harsh shadows and creating a more even glow. By positioning a reflector opposite your main light source, you can soften the overall lighting and create a more flattering atmosphere. This technique is especially useful when working with a single light source, as it helps to distribute the light more evenly.
Experiment with different reflector sizes and materials to find the one that works best for your shot. A larger reflector will provide a softer, more subtle light, while a smaller one will create a more focused beam. You can also try using reflectors with different surfaces, such as silver or gold, to add a touch of warmth or coolness to your image.
5 Essential Tips to Elevate Your Portrait Lighting Setups
- Illuminate Your Subject with a Mix of Hard and Soft Light
- Experiment with Backlight to Add Depth and Dimension to Your Portraits
- Pay Attention to the Color Temperature of Your Light Sources for Authentic Results
- Balance Artificial and Natural Light for a Visually Stunning Effect
- Play with Shadows to Create Mood and Emphasis in Your Portrait Photography
Key Takeaways for Stunning Portrait Lighting
Experiment with a mix of natural and artificial light sources to add depth and dimension to your portraits
Invest in a good reflector to bounce light onto your subject’s face and reduce harsh shadows, creating a more flattering and polished look
Don’t be afraid to get creative and try out unusual lighting setups – it’s often the unexpected combinations that lead to the most captivating and memorable portraits
Illuminating Insights
The right portrait lighting setup is not just about illuminating a face, it’s about revealing a soul – it’s where technique meets artistry, and the ordinary becomes extraordinary.
Amanda Blackwood
Bringing it all Together: Mastering Portrait Lighting
As we’ve explored the world of portrait lighting setups, it’s clear that mastering the basics is crucial for taking your photography to the next level. From understanding how to balance light and shadow, to using reflectors for added depth, each technique builds upon the last to create a comprehensive approach to portrait photography. By combining these skills with practice and patience, you’ll be well on your way to capturing stunning, professional-grade portraits that showcase your subjects in the best possible light.
So, as you continue on your photographic journey, remember that light is your paint, and the world is your canvas. Don’t be afraid to experiment and push boundaries, trying out new and innovative lighting setups to add a unique touch to your work. With dedication and a willingness to learn, you’ll unlock the full potential of portrait lighting, and your photographs will shine with a beauty and elegance that draws the viewer in and refuses to let go.
Frequently Asked Questions
What are the most common mistakes to avoid when setting up portrait lighting?
When setting up portrait lighting, beware of harsh shadows, uneven illumination, and unflattering color casts. Avoid placing lights directly above or below your subject’s face, and steer clear of mixing incompatible light sources. Also, don’t forget to consider the color temperature of your lights and how they’ll interact with your subject’s skin tones.
How can I achieve a natural look with artificial lighting in indoor portrait photography?
To achieve a natural look with artificial lighting indoors, try mimicking the softness of natural light. Use a diffuser or a softbox to scatter the light, reducing harsh shadows. Position your light source at a 45-degree angle to your subject’s face, and don’t be afraid to experiment with different heights and distances to find the perfect balance.
What are some creative ways to use available light for outdoor portrait shoots?
Natural light is my jam! For outdoor portrait shoots, try shooting during the golden hour for warm, soft light. Use the shade to your advantage, or position your subject near a reflective surface like water or a light-colored wall to bounce light onto their face. Experiment with backlight, too, for a stunning rim of light around your subject’s hair and shoulders.