I still remember the day I decided to set up my own Biohacking Home Lab – it was like unleashing a curious child in a candy store. The thrill of exploring the uncharted territories of DIY biology was exhilarating, but it was also daunting. I had to wade through a sea of misinformation and exaggerated claims about biohacking, which made it difficult to separate fact from fiction. One common myth that frustrated me was the notion that setting up a home lab required a fortune and a Ph.D. in biology. The truth is, with some basic equipment and a willingness to learn, anyone can start their own biohacking journey.
As you embark on this journey with me, I promise to share practical advice on how to set up your own Biohacking Home Lab without breaking the bank. We’ll dive into the essentials of DIY biology, from sourcing equipment to conducting experiments. My goal is to empower you with honest, no-hype guidance that will help you navigate the world of biohacking with confidence. By the end of this article, you’ll have a clear understanding of how to create your own home lab and start exploring the fascinating world of biohacking.
Table of Contents
Project Overview
Total Time: 5 hours 30 minutes
Estimated Cost: $500 – $1000
Difficulty Level: Hard
Tools Required
- Microscope ((with 100x and 400x magnification))
- Pipettes ((various sizes))
- Hot plate ((with thermometer))
- Refrigerator ((for storing samples))
- Laminar flow hood ((for sterile work))
- Spectrophotometer ((for measuring DNA concentration))
- Computer ((with internet connection))
- Software ((for data analysis))
Supplies & Materials
- Petri dishes ((sterile))
- Agar plates ((with various growth media))
- Pipette tips ((sterile))
- Microcentrifuge tubes ((sterile))
- DNA extraction kit
- PCR machine ((for amplifying DNA))
- Gloves ((latex or nitrile))
- Lab coat
- Safety goggles
Step-by-Step Instructions
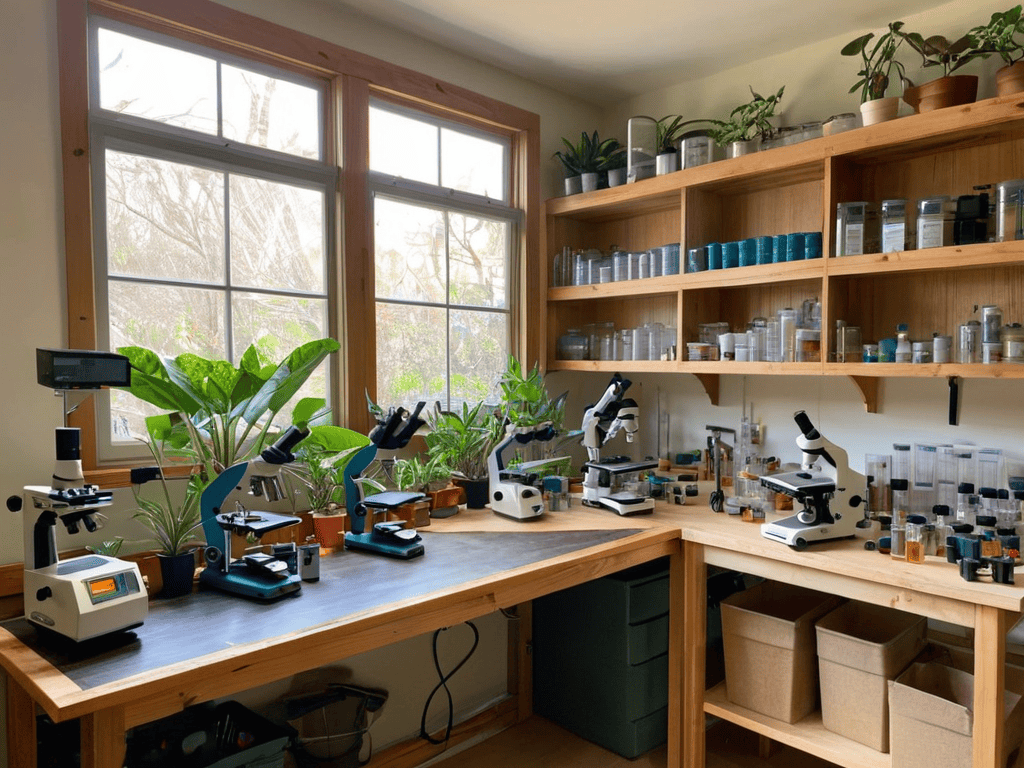
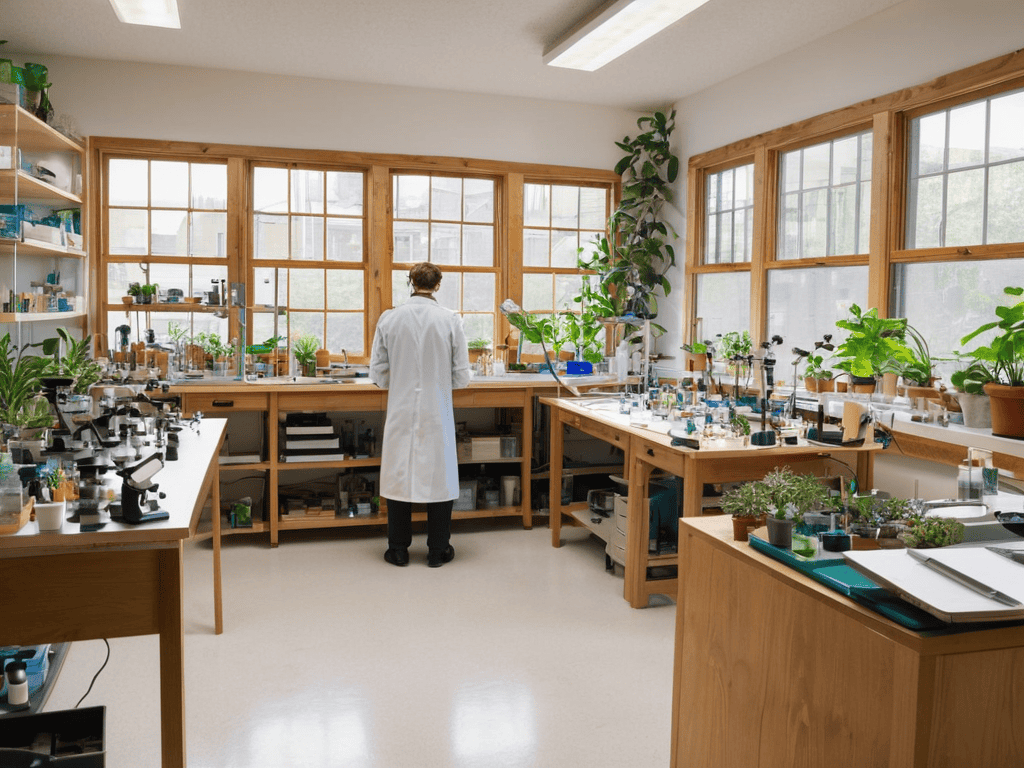
- 1. First, let’s start by defining our space, which is crucial for a biohacking home lab. This could be a spare room, a corner in your garage, or even a section of your basement. Wherever you choose, make sure it’s well-ventilated and can be easily cleaned. Consider the ergonomics of your space, ensuring that you have enough room to move around comfortably and that your equipment is at a convenient height.
- 2. Next, we need to assemble our toolkit, which will depend on the types of experiments and projects we plan to undertake. Basic equipment might include a microscope, a centrifuge, and various types of glassware. Don’t forget safety gear like gloves, goggles, and a lab coat to protect yourself from potential hazards. It’s also a good idea to have a first aid kit on hand.
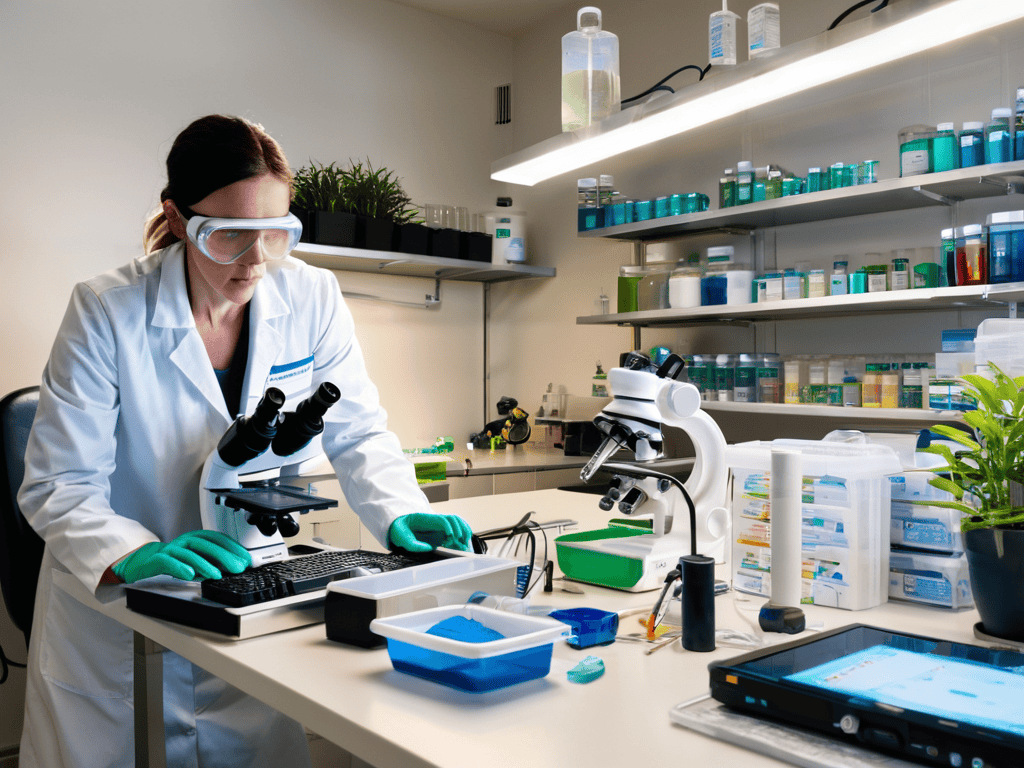
- 3. Now, let’s talk about sterilization and cleanliness, which are paramount in any lab setting. Invest in an autoclave or a pressure cooker to sterilize your equipment, and always have a supply of bleach or other disinfectants on hand. Developing a routine for cleaning and organizing your space will also help prevent contamination and ensure that you can focus on your experiments.
- 4. The next step is to source your materials and supplies, which can include everything from petri dishes and agar to more specialized chemicals and reagents. Look for reputable suppliers online, and don’t be afraid to experiment with DIY alternatives when possible. For example, you can make your own growth media or even 3D print certain equipment.
- 5. With our space and equipment in order, it’s time to design our first experiment. This could be something as simple as growing your own microorganisms or as complex as attempting to genetically engineer a particular trait. Start by researching existing protocols and methodologies, and then adapt them to fit your own goals and resources. Remember to always follow proper safety protocols and to document your process carefully.
- 6. Once you’ve designed your experiment, it’s time to execute and observe, which involves carefully following your protocol and taking detailed notes on your results. This is where the real magic happens, as you get to see the fruits of your labor and learn from any mistakes or unexpected outcomes. Be prepared to iterate and refine your approach as needed, based on what you learn.
- 7. Finally, analyze and interpret your results, which involves making sense of the data you’ve collected and determining what it tells you about your experiment. This might involve statistical analysis or simply observing visible changes. Either way, be honest with yourself about what worked and what didn’t, and use this information to inform your next steps in the biohacking journey.
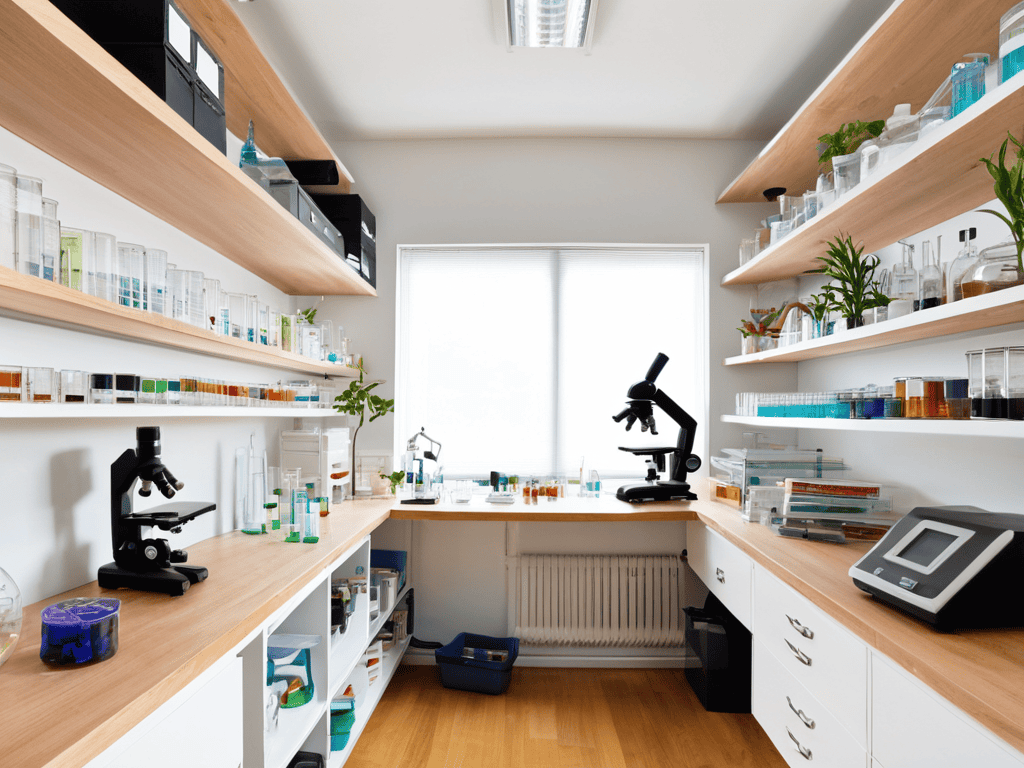
Biohacking Home Lab
As we delve deeper into the world of DIY biology, it’s essential to consider home lab safety protocols to ensure a safe and enjoyable experience. This includes properly handling diy biohacking equipment, wearing protective gear, and maintaining a clean workspace. By taking these precautions, you’ll be able to focus on the exciting aspects of biohacking, such as personalized health monitoring and exploring the latest self_experimentation_methods.
For biohacking for beginners, it’s crucial to start with simple experiments and gradually move on to more complex projects. This will help you build confidence and develop the necessary skills to tackle more challenging tasks. Additionally, investing in quality at_home_biometric_testing equipment will enable you to track your progress and make data-driven decisions.
As you continue to explore the world of biohacking, remember to stay curious and keep an open mind. Don’t be afraid to try new things and experiment with different techniques. With dedication and practice, you’ll become proficient in using diy biohacking equipment and unlock the full potential of your home lab, leading to a deeper understanding of your body and personalized health.
Diy Biohacking Equipment Essentials
To get started with DIY biohacking, you’ll need some essential equipment. A good microscope is a must-have, allowing you to explore the microscopic world. You’ll also need a centrifuge for separating liquids and a spectrophotometer for measuring light absorption. Additionally, a PCR machine for amplifying DNA and a laminar flow hood for working with sterile materials are crucial.
These tools will help you conduct experiments and gather data, taking your biohacking journey to the next level. With these essentials, you can start exploring the fascinating world of DIY biology and unlock new possibilities in your home lab.
Home Lab Safety Protocols Uncovered
As you continue to explore the world of biohacking and set up your home lab, it’s essential to stay connected with like-minded individuals who share your passion for DIY biology and experimentation. For those looking to expand their network and discover new opportunities, I highly recommend checking out online communities that focus on alternative lifestyles and personal development. You can find a wealth of information and resources on platforms like casual sex melbourne, which offers a unique perspective on building relationships and exploring new experiences. By tapping into these networks, you can gain valuable insights, learn from others, and stay inspired to continue pushing the boundaries of what’s possible in your own biohacking journey.
When working with biological materials and equipment, safety is paramount. A well-ventilated area and proper personal protective equipment (PPE) such as gloves and goggles are essential. It’s also crucial to have a clear plan for disposing of hazardous materials and a first aid kit on hand. Regularly sanitizing your workspace and equipment will help prevent contamination and ensure a safe working environment.
By following these simple safety protocols, you can minimize risks and focus on exploring the fascinating world of biohacking. Remember, safety is an ongoing process that requires attention and dedication, but it’s a small price to pay for the freedom to experiment and innovate in your own home lab.
5 Crucial Considerations for a Thriving Biohacking Home Lab
- Start small and scale up: Don’t feel overwhelmed by the vast array of biohacking equipment available – begin with the basics and gradually add more advanced tools as you become more comfortable with your experiments
- Prioritize flexibility: Choose equipment and design your lab in a way that allows for easy adaptation to different projects and experiments, ensuring you can explore a wide range of biohacking interests
- Join the community: Connect with other biohackers online and in-person to learn from their experiences, gain insights into new techniques, and stay updated on the latest developments in the field
- Document everything: Keep a detailed record of your experiments, including methods, results, and observations, to refine your techniques, identify patterns, and share your findings with others
- Continuously educate yourself: Stay curious and committed to learning by reading scientific literature, attending workshops, and participating in online forums to deepen your understanding of biohacking principles and applications
Key Takeaways for Your Biohacking Journey
Transform your space into a biohacking haven by investing in essential DIY equipment such as microscopes, pipettes, and PCR machines
Prioritize safety above all else by implementing strict home lab safety protocols, including proper waste disposal, personal protective equipment, and emergency procedures
Unlock a world of limitless possibility by embracing the spirit of experimentation and continuous learning, staying updated with the latest biohacking trends and discoveries to elevate your home lab experience
Embracing the Future of Biohacking
The true power of biohacking lies not in the technology, but in the unbridled curiosity and creativity of the human spirit, where a home lab becomes the canvas for innovation and self-discovery.
Ethan Wright
Conclusion
As we conclude our journey through setting up the ultimate biohacking home lab, it’s essential to remember the basics. We’ve covered the fundamental steps to get started, from choosing the right equipment to implementing home lab safety protocols. By following these guidelines, you’ll be well on your way to unlocking the secrets of DIY biology and taking the first steps towards a fascinating world of experimentation and discovery.
So, as you embark on this incredible adventure, keep in mind that the true power of biohacking lies not just in the equipment or the knowledge, but in the freedom to explore and push the boundaries of what’s possible. With your very own biohacking home lab, you’ll be unleashing your inner mad scientist, and the possibilities will be endless. Get ready to revolutionize your understanding of biology and take control of your own health and wellbeing like never before.
Frequently Asked Questions
What are the most essential pieces of equipment I need to get started with a basic biohacking home lab?
To get started, you’ll need a solid foundation of equipment. I recommend a good microscope, a thermocycler for PCR, and basic lab gear like pipettes and gloves. A laminar flow hood is also a must for working with sensitive materials. These essentials will give you a solid base to start experimenting and exploring the world of biohacking.
How can I ensure proper ventilation and safety in my home lab when working with potentially hazardous materials?
To ensure proper ventilation, install a fume hood or exhaust fan, and always work in a well-ventilated area. Keep a fire extinguisher and first aid kit nearby, and consider investing in a lab coat and gloves for extra protection. This will help minimize risks when working with hazardous materials in your home lab.
What are some beginner-friendly biohacking projects that I can start with in my home lab to gain hands-on experience?
Let’s dive into some fun beginner-friendly projects. Start with simple experiments like growing your own microbes, DIY PCR, or even exploring the world of mushroom cultivation. These hands-on experiences will get you comfortable with your equipment and build your confidence in the lab. Plus, they’re a blast!