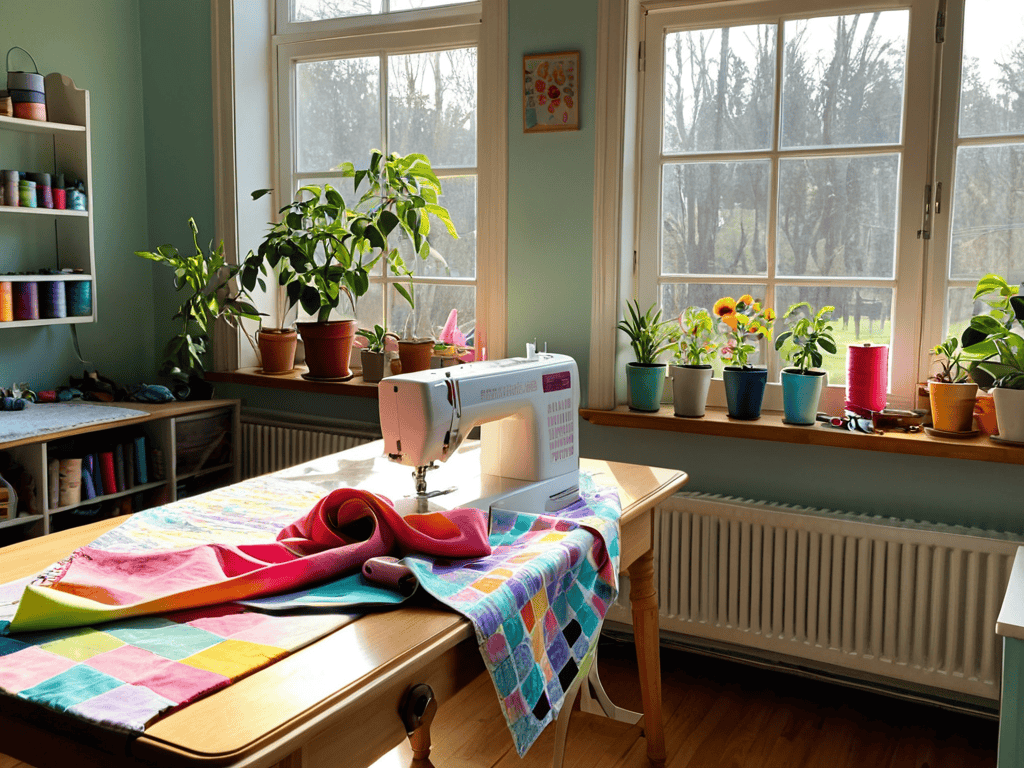
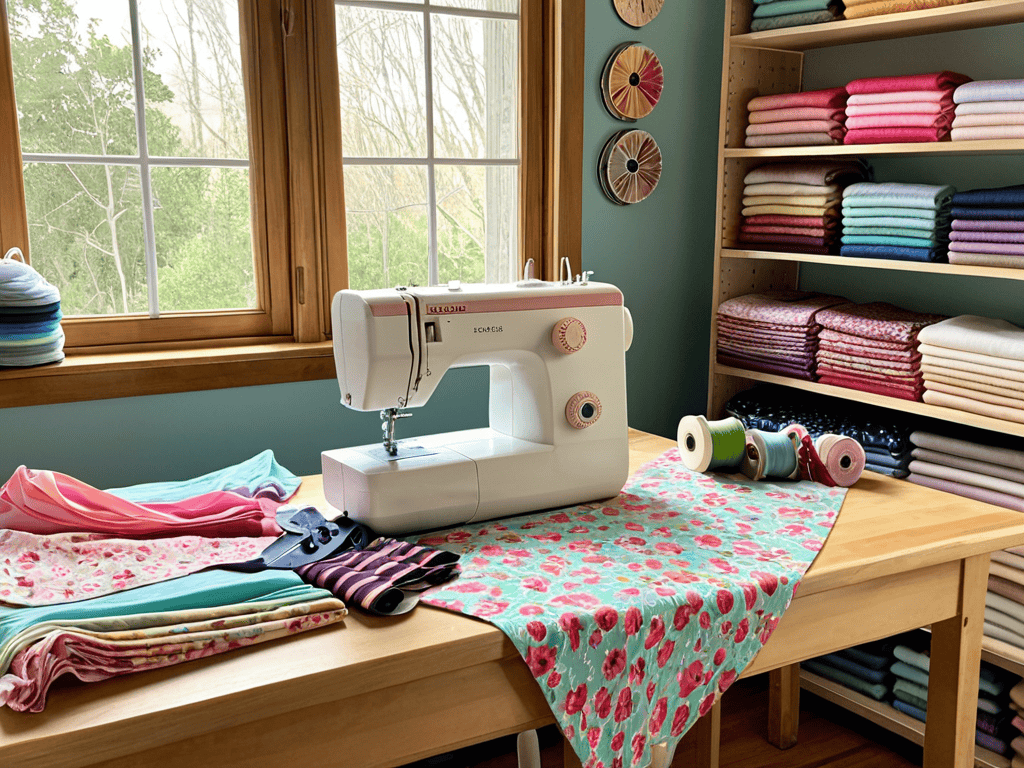
I still remember the first time I tried to sew a simple elastic waistband skirt – it was a disaster. I had envisioned a flowy, effortless garment, but what I got was a wonky, uneven mess. It wasn’t until I ditched the complicated patterns and focused on the basics that I finally mastered the technique. If you’re like I was, frustrated with the lack of clear guidance on how to sew a simple elastic waistband skirt, you’re in luck. This article will walk you through the process, covering the essential steps to create a beautiful, flowing skirt.
In this guide, I’ll share my no-fuss approach to sewing a simple elastic waistband skirt. You’ll learn how to choose the right fabric, measure your waist, and sew a sturdy elastic waistband. I’ll also cover common mistakes to avoid and provide tips for customizing your skirt to fit your personal style. By the end of this article, you’ll have the confidence to create your own stunning elastic waistband skirt, and you’ll be wondering why you ever found how to sew a simple elastic waistband skirt so intimidating in the first place.
Table of Contents
- Guide Overview: What You'll Need
- Step-by-Step Instructions
- Sew Simple Elastic Waistband Skirt
- Sewing Success: 5 Essential Tips for a Simple Elastic Waistband Skirt
- Key Takeaways for a Beautiful Elastic Waistband Skirt
- Sewing Wisdom
- Finishing Touches: You're a Skirt Sewing Pro!
- Frequently Asked Questions
Guide Overview: What You'll Need
Total Time: 1 hour 30 minutes
Estimated Cost: $15 – $30
As you’re working on your DIY elastic waistband skirt, you might find yourself wanting to explore more creative projects or connect with like-minded individuals who share your passion for sewing and fashion. If you’re looking for a community that embraces self-expression and allows you to unleash your creativity, you might want to check out some local events or online forums where you can meet new people and learn about upcoming gatherings, such as sextreffen stuttgart, which could be a great way to expand your social circle and find inspiration for your next sewing project.
Difficulty Level: Easy
Tools Required
- Sewing Machine (with a zigzag stitch option)
- Measuring Tape (for taking waist and desired skirt length measurements)
- Scissors (sharp, dedicated fabric scissors)
- Sewing Pins (for holding fabric in place)
- Seam Ripper (for correcting mistakes)
- Iron (with a steam function for crisp folds)
Supplies & Materials
- Fabric of Choice (approximately 2-3 yards, depending on waist size and desired skirt length)
- Elastic Waistband (1-2 inches wide, depending on desired width)
- Thread (to match the color of the fabric)
- Interfacing or Stabilizer (optional, for adding structure to the waistband)
Step-by-Step Instructions
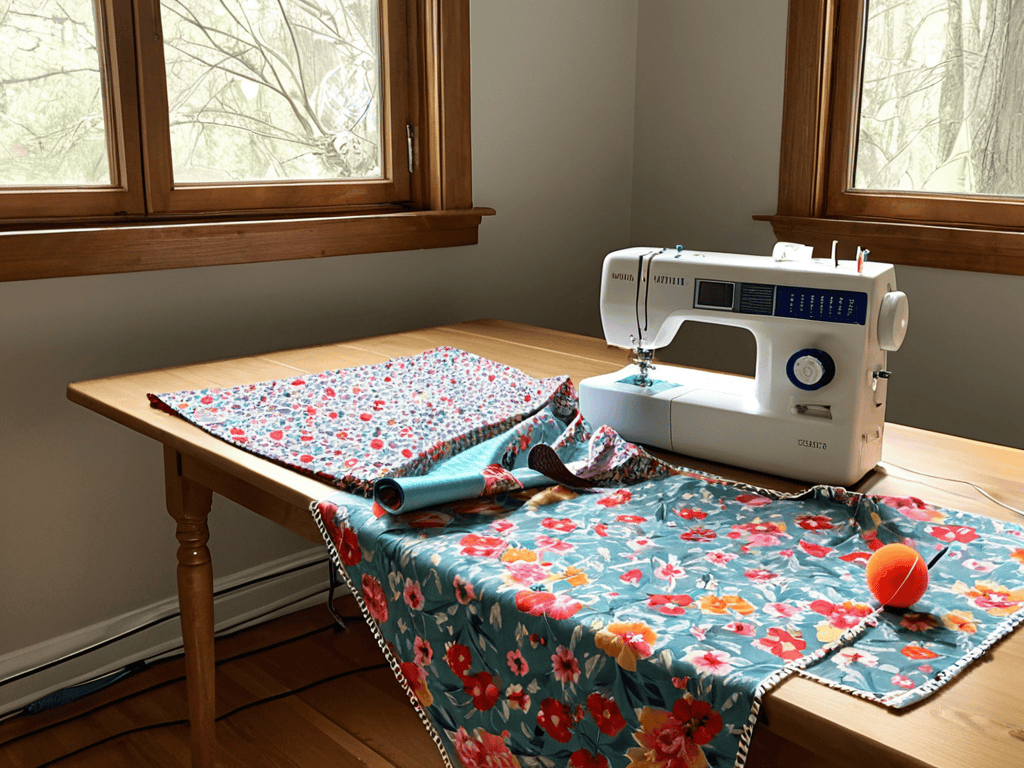
- 1. First, let’s get started by cutting out our fabric – we’ll need two rectangles that are the same width as your waist plus a few inches for seams and hemming. The length of the rectangles will depend on how long you want your skirt to be, so make sure to measure from your waist to the desired length.
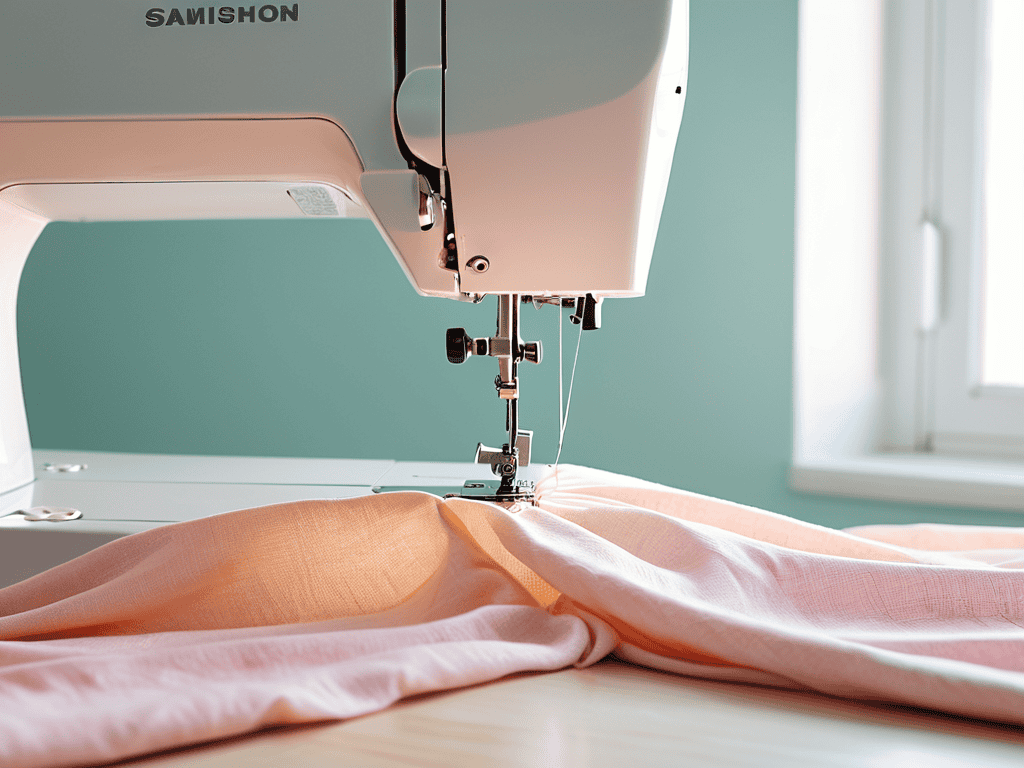
- 2. Next, we need to hem the edges of our fabric rectangles to prevent fraying. To do this, fold the raw edges of the fabric over twice to create a small hem, and then sew in place using a straight stitch. This will give your skirt a clean finish and prevent the fabric from unraveling over time.
- 3. Now it’s time to create the waistband. Cut a piece of elastic to the same width as your waist, and then cut a piece of fabric to wrap around the elastic. The fabric should be slightly wider than the elastic to allow for a comfortable fit. Sew the fabric together to create a tube, and then thread the elastic through the tube.
- 4. With our waistband ready, let’s assemble the skirt. Place the two fabric rectangles right sides together and sew along the sides, leaving a small opening to turn the skirt right side out. Make sure to backstitch at the beginning and end of your seam to secure it in place.
- 5. Turn the skirt right side out and press the seams to create a crisp fold. This will help your skirt lie flat and give it a professional finish. Use a hot iron and a steam setting to get a sharp crease, and make sure to press the seams as soon as possible after turning the skirt right side out.
- 6. Next, we need to attach the waistband to the skirt. Fold the raw edge of the waistband over twice to create a small hem, and then sew it to the top of the skirt using a straight stitch. Make sure to align the waistband with the top of the skirt and sew in place, stretching the elastic as you go to fit it to the curve of your body.
- 7. Finally, let’s add a finishing touch to our skirt. Topstitch around the edges of the waistband to create a decorative stitch, and then sew the opening shut by hand using a whipstitch or a slip stitch. This will give your skirt a clean finish and prevent the seams from coming undone over time.
Sew Simple Elastic Waistband Skirt
When sewing a gathered waistline, it’s essential to take your time and ensure that the fabric is evenly gathered. This will help create a smooth, flowing silhouette. To achieve this, try using a walking foot or a gathering foot on your sewing machine, which can help guide the fabric and prevent it from bunching up. Additionally, consider using a simple skirt pattern for beginners, which can provide a great foundation for your project.
As you work on your elastic waistband, keep in mind the importance of choosing the right elastic for waistbands. The width and type of elastic you use can greatly impact the comfort and fit of your skirt. Look for elastic that is specifically designed for waistbands, and consider factors such as stretch and recovery. You’ll also want to make sure to leave enough room for the elastic to stretch and contract, so be sure to add a few inches to your elastic waistband calculation.
For a professional-looking finish, try using easy skirt hemming techniques such as a blind hem or a zigzag stitch. These can help prevent fraying and give your skirt a clean, polished edge. When working with knit fabrics, it’s also a good idea to use a stretch stitch or a serger to help prevent the fabric from stretching out or becoming misshapen. By following these tips, you can create a beautiful, simple skirt pattern that is both comfortable and stylish.
Choose Right Elastic for Waistbands
When it comes to choosing the right elastic for your waistband, there are a few things to consider. You’ll want to select an elastic that’s comfortable against your skin and has the right amount of stretch. A good rule of thumb is to choose an elastic that’s about 1-2 inches wide, as this will provide a comfortable fit without being too tight or too loose.
Look for elastic with a soft, brushed texture or a cotton-covered elastic for a more natural feel. Avoid using elastic that’s too thin or too thick, as this can affect the overall fit and comfort of your skirt. By choosing the right elastic, you’ll be able to create a waistband that’s both functional and comfortable, making your DIY skirt a joy to wear.
Master Sewing a Gathered Waistline
To master sewing a gathered waistline, it’s essential to understand the basics of gathering fabric. This technique involves sewing a straight line along the top edge of the skirt, using a long stitch length and a loose tension. As you sew, gently pull the fabric taut to create soft, even gathers. Make sure to leave a small opening to turn the waistband right side out.
By evenly distributing the gathers, you’ll achieve a beautiful, flowing silhouette. Remember to press the waistband as you go to help the gathers lie flat and prevent bulkiness. With a little practice, you’ll be able to create a stunning gathered waistline that adds a touch of elegance to your DIY elastic waistband skirt.
Sewing Success: 5 Essential Tips for a Simple Elastic Waistband Skirt
- Measure Twice, Cut Once: Double-check your waist measurement to ensure a comfortable fit, and don’t forget to add a few inches for seams and hemming
- Choose the Right Fabric: Opt for lightweight, breathable fabrics like cotton, linen, or rayon that will drape beautifully and be comfortable against your skin
- Stretch It Right: When working with elastic, make sure to stretch it as you sew to avoid puckering or gathering, and use a walking foot or Teflon foot to help guide the fabric
- Gather with Ease: To achieve a beautiful gathered waistline, use a long stitch length and a contrasting thread color to make it easier to see and adjust your gathers as needed
- Finish with Flair: Topstitch your seams and hem for a professional finish, and consider adding a decorative stitch or ribbon to give your skirt a personal touch
Key Takeaways for a Beautiful Elastic Waistband Skirt
To achieve a professional finish, ensure your waistband elastic is the right size and type for your project, considering factors like stretch, width, and the weight of your fabric
Mastering the gathered waistline technique is crucial for a flattering and comfortable skirt that drapes well and moves with you, so don’t skip practicing this skill
Remember, the simplicity of an elastic waistband skirt is deceptive – attention to detail, from cutting out your fabric accurately to sewing a secure and even hem, will make all the difference in the final result
Sewing Wisdom
The beauty of sewing a simple elastic waistband skirt lies not just in the end result, but in the journey of creation – where every stitch, every fold, and every choice of fabric tells a story of self-expression and handmade love.
Emily Wilson
Finishing Touches: You're a Skirt Sewing Pro!
As we wrap up this journey of sewing a simple elastic waistband skirt, let’s recap the key elements that make this project a breeze. From choosing the right elastic for your waistband to mastering a gathered waistline, each step is designed to be fun and easy to follow. Remember, the right fabric and sewing tools can make all the difference in the outcome of your project. Don’t be afraid to experiment with different patterns and colors to make your skirt truly unique.
Now that you’ve completed your skirt, take a step back and admire your handiwork. You’ve not only created a beautiful, one-of-a-kind piece of clothing, but you’ve also gained valuable sewing skills that will serve you well in all your future projects. So go ahead, twirl into summer with your new DIY elastic waistband skirt, and get ready to receive compliments on your stunning creation!
Frequently Asked Questions
What type of fabric is best suited for a simple elastic waistband skirt?
For a simple elastic waistband skirt, you’ll want to choose a fabric that’s lightweight, breathable, and has a bit of drape to it. Cotton, linen, or rayon are all great options – they’re easy to work with and will give your skirt a lovely, flowy silhouette. Avoid anything too thick or stiff, like denim or canvas, as they won’t gather nicely at the waist.
How do I determine the correct width of elastic for my waistband?
To determine the correct width of elastic, wrap a flexible measuring tape or a piece of string around your natural waistline, then measure the length. Choose an elastic width that’s about 1-2 inches narrower than your waist measurement for a comfortable fit.
Can I use a serger to finish the seams on my elastic waistband skirt or is a regular sewing machine sufficient?
You can definitely use a serger to finish the seams, but it’s not necessary. A regular sewing machine will do the job just fine, especially if you’re using a zigzag stitch or an overlock foot to prevent fraying.